
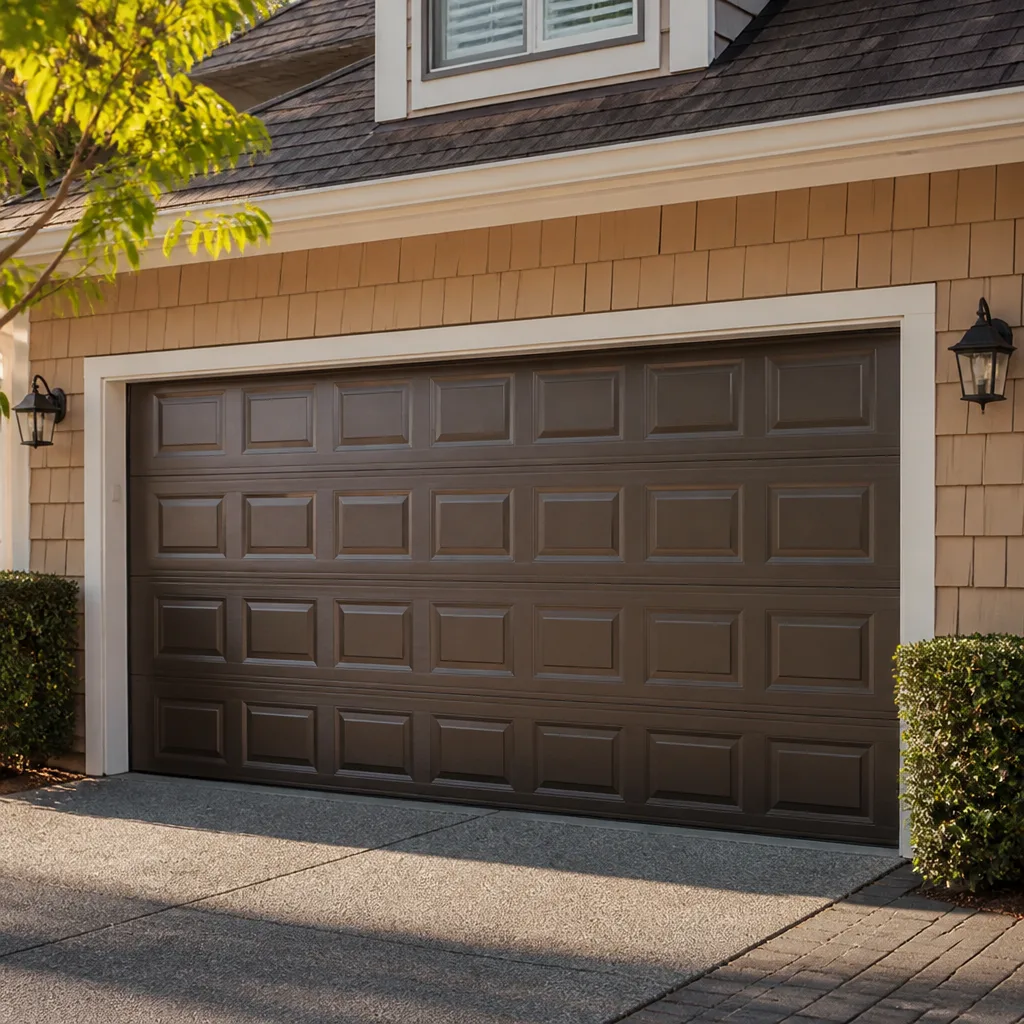
 Raised-panel steel
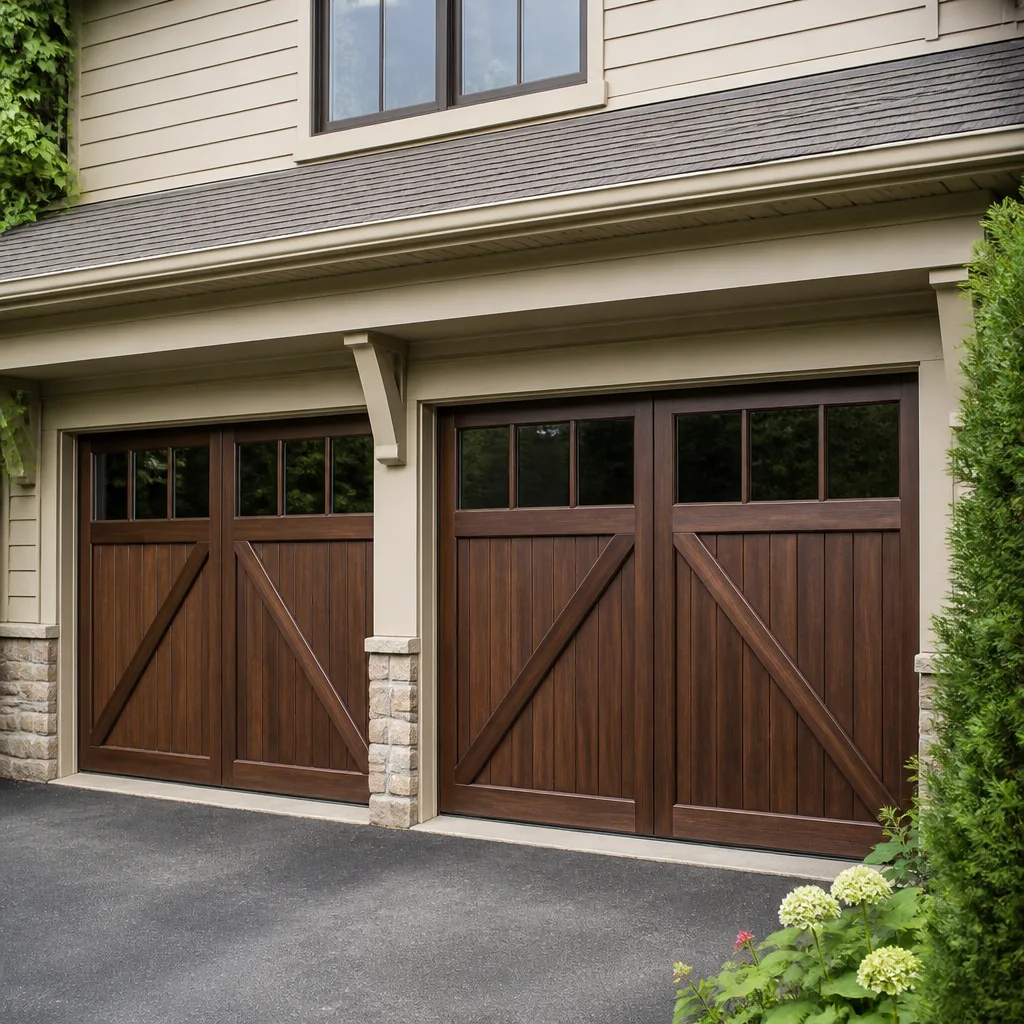 Carriage house
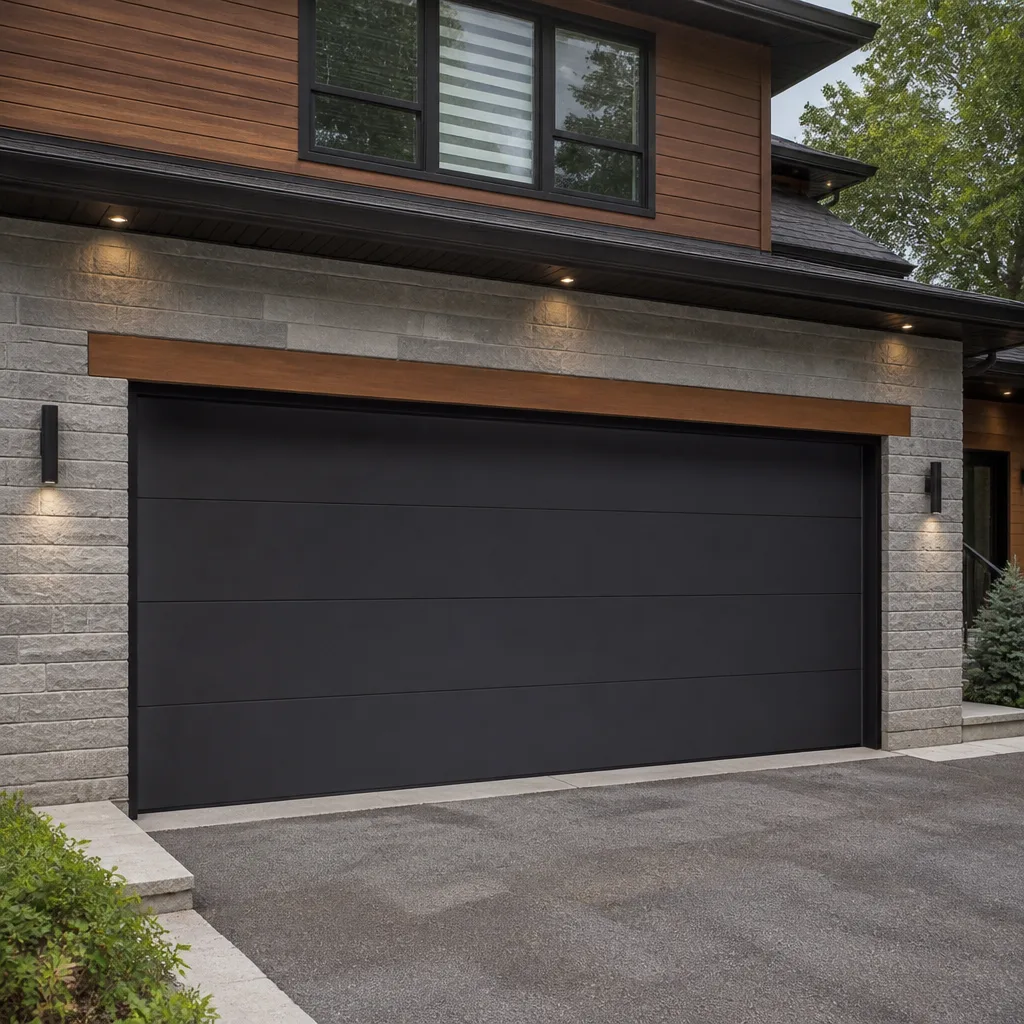 Modern flush
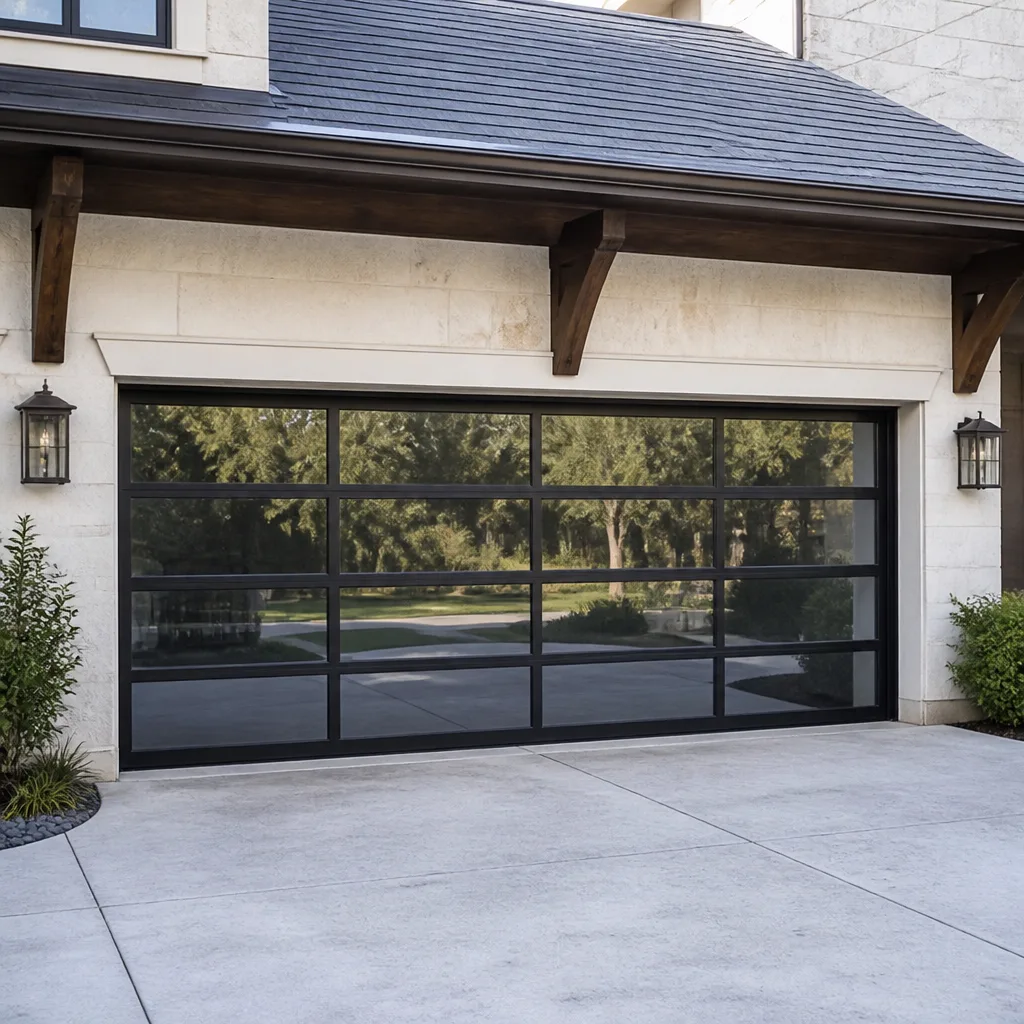 Full-view glass
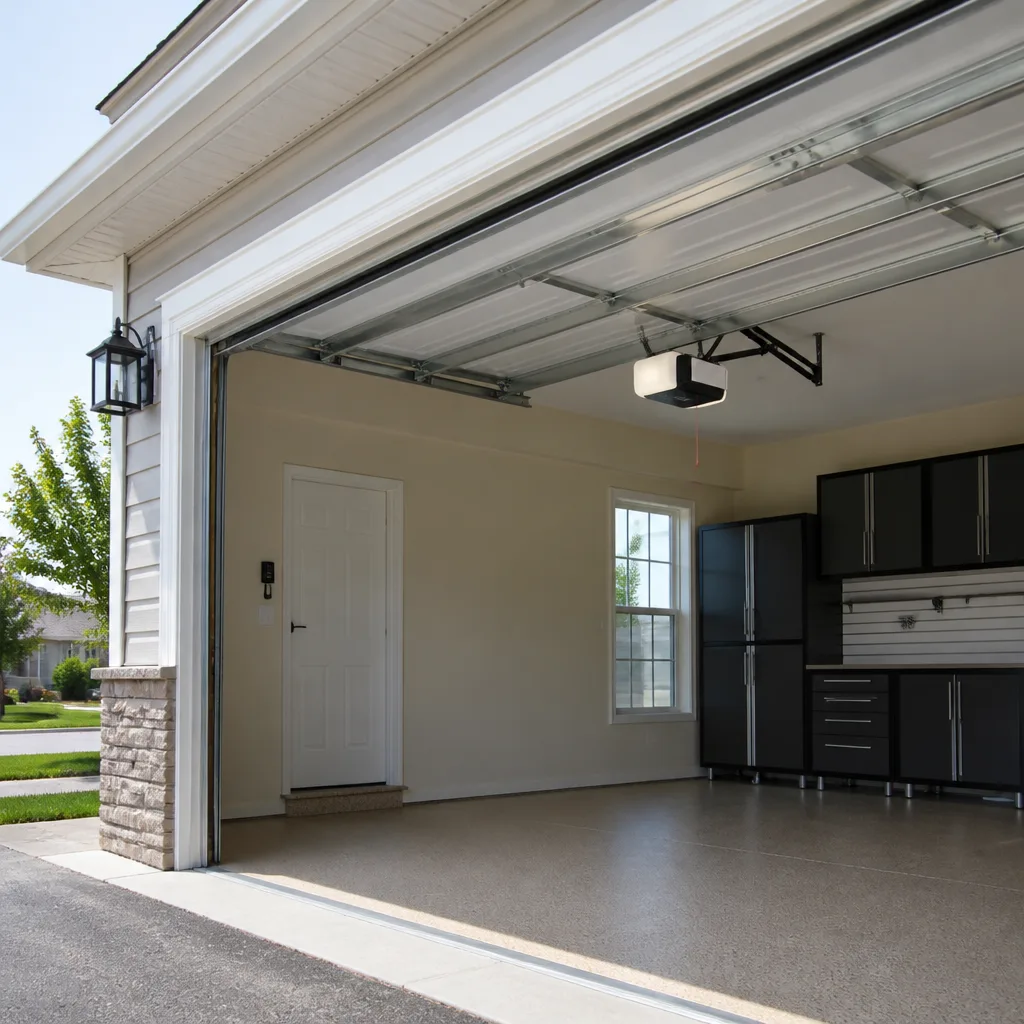 LiftMaster openers
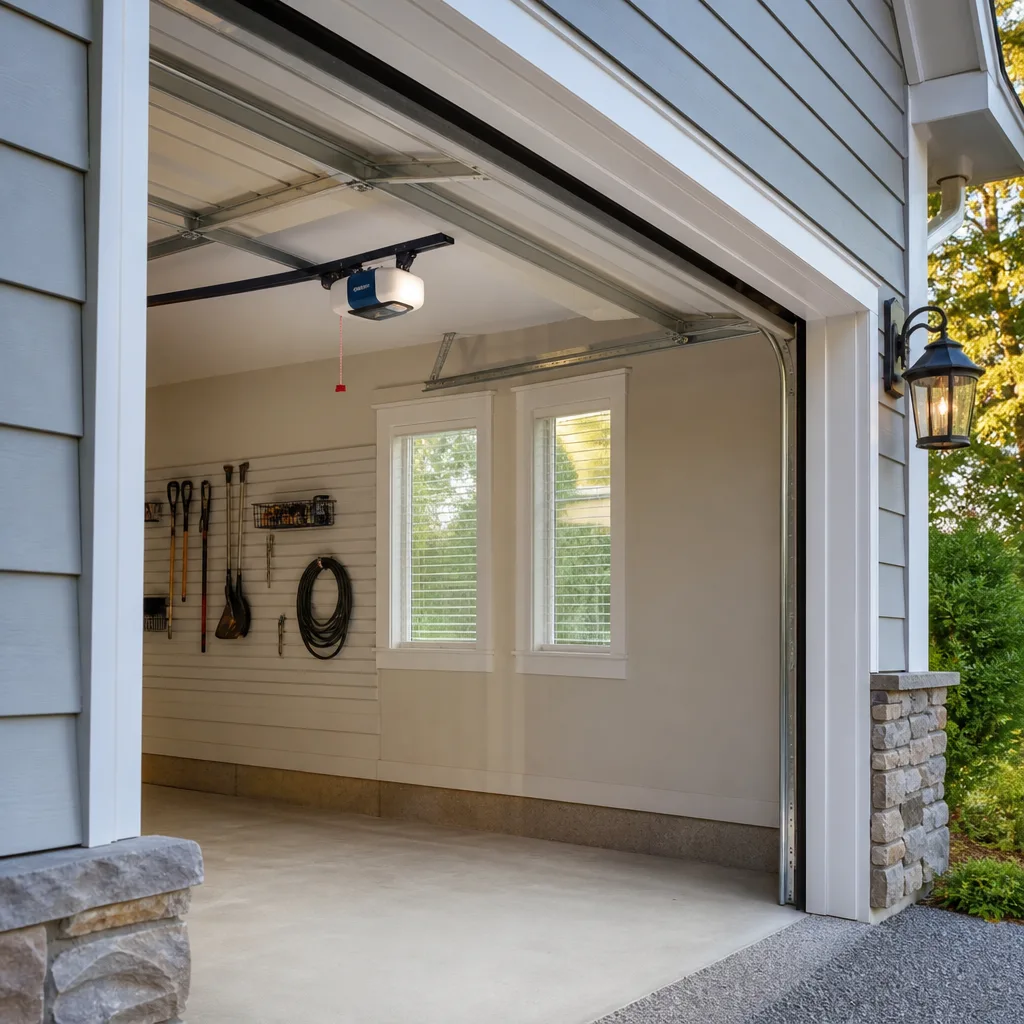 Chamberlain openers
Full 25-point door and opener safety check with every visit - springs, cables, rollers, tracks, and your LiftMaster or Chamberlain opener included
You get a price before we start. It does not change when the truck arrives.
Get your free estimateRaynor Garage Door Installation in San Francisco: What to Know First
Raynor garage door installation in San Francisco typically runs $825 – $2,595 for a complete new door and hardware package, with most standard single-car installations completed in one visit and custom or wood doors taking two to three weeks from order to install. We’re an independent Raynor service provider – not a factory branch – which means we order your door directly from Raynor distribution and handle the entire installation ourselves, from removing the old door to hauling away the debris. If you own a Raynor and need a replacement door, a fresh installation on a new build, or an upgrade to a different model line, call (650) 550-9734 and we’ll walk you through what fits your opening, your budget, and your timeline.
How Raynor Products Fail – and How We Fix Them
- Raynor ShowCase and Aspen series: delaminated steel faces near the coast. In the Sunset District and Richmond, the marine layer pushes salt-laden air against garage door faces year round. On Raynor’s steel sandwich panels, we regularly see the bottom section starting to delaminate at the seams – the outer skin separates from the polyurethane core, usually because the factory bottom seal was compromised or the door sat in standing water during a winter storm. On a Raynor installation job, we replace the section and rebalance the entire door, because a lighter or heavier bottom panel changes the spring load. A quick section swap without rebalancing the torsion springs means the opener starts fighting the door, and you’ll be replacing the opener next.
- Raynor AP138 and AP200: nylon roller wear that chews up the hinge tubes. These mid-tier residential lines use nylon rollers over steel stems, and after six to eight years of San Francisco garage use – particularly in hilly neighborhoods where every open cycle adds load – the bearing surfaces wear oval, the rollers start to wobble, and the stems begin rotating inside the hinge tubes. By the time you hear a rhythmic clatter, the hinges themselves are egged out. We replace the rollers and hinges together on these Raynor jobs, because installing a new roller into an ovalized tube just gives you a quieter wobble for a few months.
- Raynor Colonial and Estate lines: wood door sections that swell and drag. These traditional wood doors look right on a 1920s Outer Sunset or Noe Valley home, but the sections absorb moisture from the fog and swell enough to drag against the jamb. The common symptom is a door that starts fine and then stalls halfway up – that’s not the opener, it’s frictional drag from wood that’s changed dimension. On Raynor wood door installations, we gap the sections with a wider bottom and top rail clearance, verify the track pitch is correct, and confirm the springs are rated for the actual – not the factory-stated – door weight after years of moisture absorption.
- Raynor Perf-Plus hardware: extension spring clips that let go. Older Raynor doors with extension springs use clip-mounted pulleys, and when the door is installed without proper safety cable routing, a spring failure sends metal parts across the garage. We’ve pulled clips out of ceiling joists on Raynor jobs in the Richmond. On any Raynor installation or repair where we find extension springs without safety cables through the spring core, we stop work and address it – this is a genuinely dangerous condition, and we won’t leave it in place.
- Raynor operator brackets on opener-equipped doors: pulled screws from wind load. The operator bracket that connects the trolley to the top section is a known weak point on Raynor doors that get repeated exposure to the strong afternoon winds off the Pacific. The bracket screws pull out of the strut, leaving the opener to bang against a loose door. We reinforce with a through-bolted operator bracket and add a strut plate where Raynor’s factory bracket is marginal for coastal wind exposure. It’s a five-dollar part upgrade that prevents a bent top section.
Styles & brands we work with
Our Raynor Garage Door Installation Process
- 1
We talk first. You call (650) 550-9734, a live person answers – day, night, weekends, holidays – and we ask what you have now, what’s failing, and what you’ve already priced. Then we schedule a site visit.
- 2
We measure and inspect. Our technician arrives with a name and photo sent to your phone before we knock. We measure the opening, check the existing tracks, springs, and opener condition, and tell you honestly whether you need a full Raynor installation or a targeted repair.
- 3
You get a written price. Before a single bolt is turned, we hand you a written quote covering the door, hardware, labor, removal, and disposal. No verbal estimates, no “we’ll see once we get into it.” The number on the paper is the number you pay.
- 4
We choose parts intentionally. We use Raynor factory sections and spring packs for warranty-safe work, and we’ll tell you when a quality aftermarket roller or hinge is the smarter call for a specific wear point. We never put a part on a Raynor door that doesn’t meet or beat the original spec.
- 5
Install, balance, test. We remove the old door, set the new sections, install the springs and hardware, hang the opener if it’s part of the job, and run a full cycle test with the door disconnected and connected – open, close, mid-stop, reverse test, and manual lift balance at knee height.
- 6
Cleanup and walkthrough. We haul the old door and hardware away, sweep the work area, and walk you through what we did. Then we hand you the written 365-Day Done Right Promise covering the installation: if it fails in the first 365 days, we come back and make it right at no charge.
See the difference
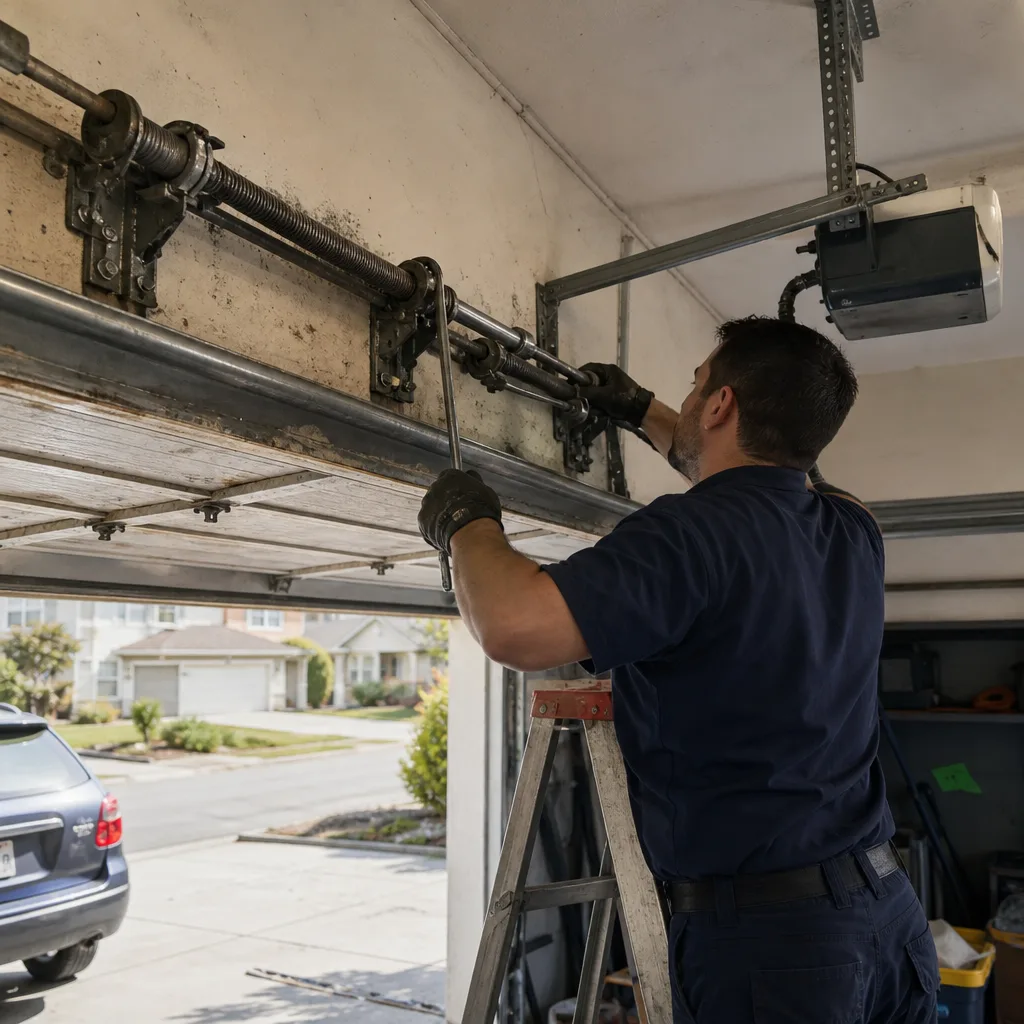 Before
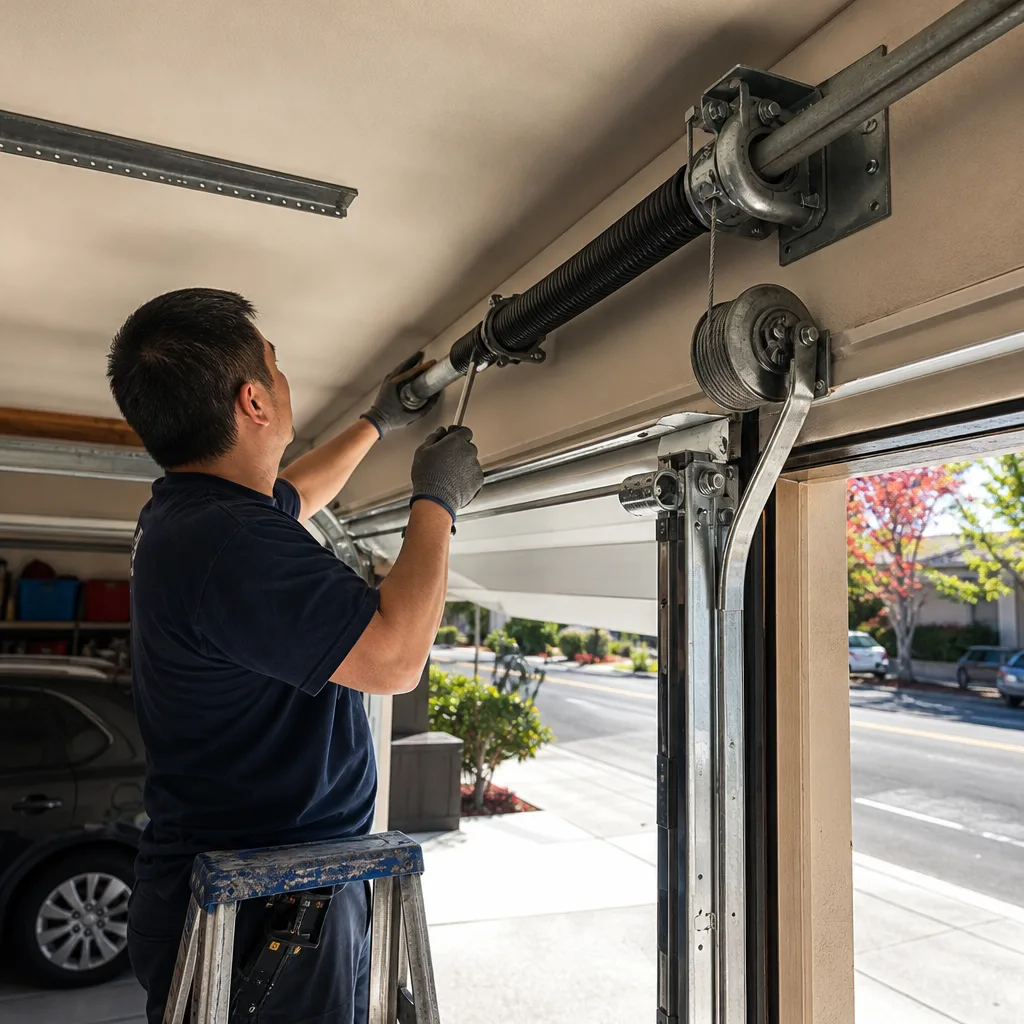 After
After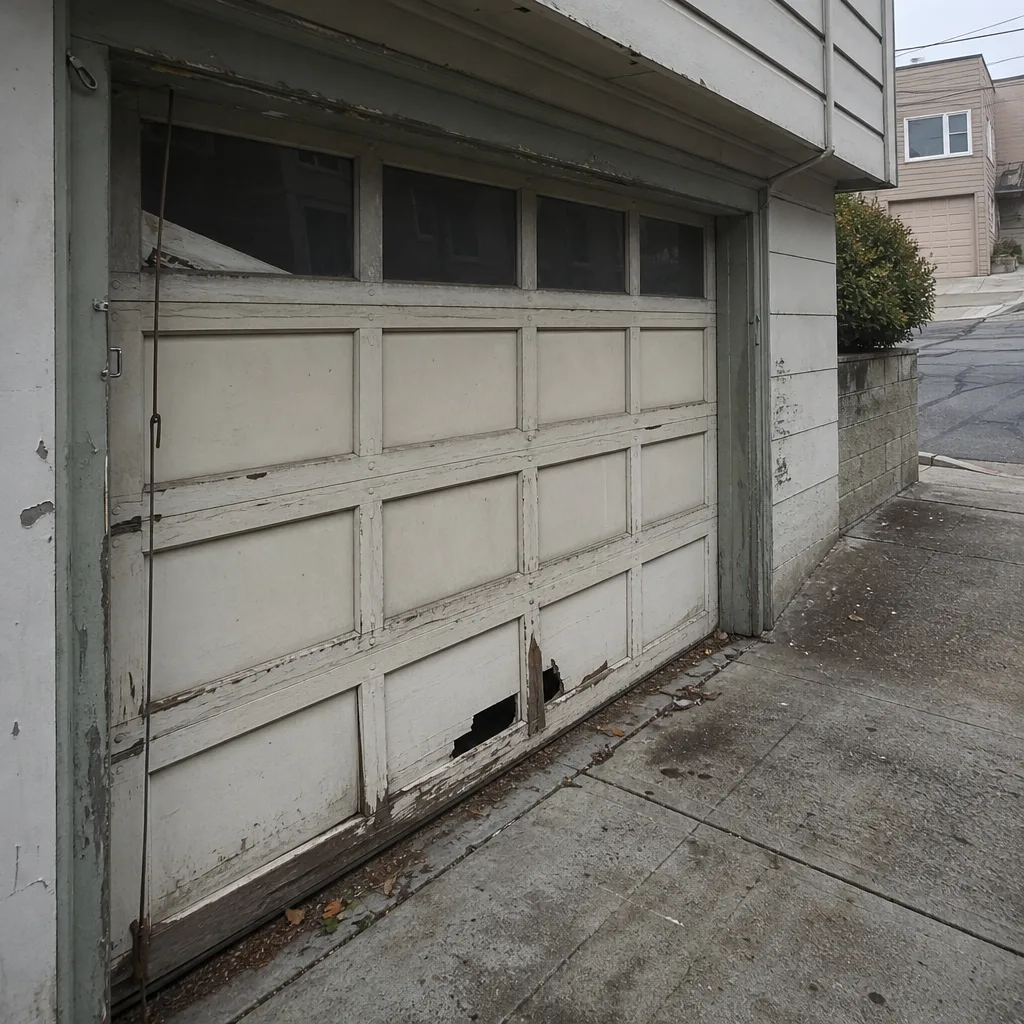 Before
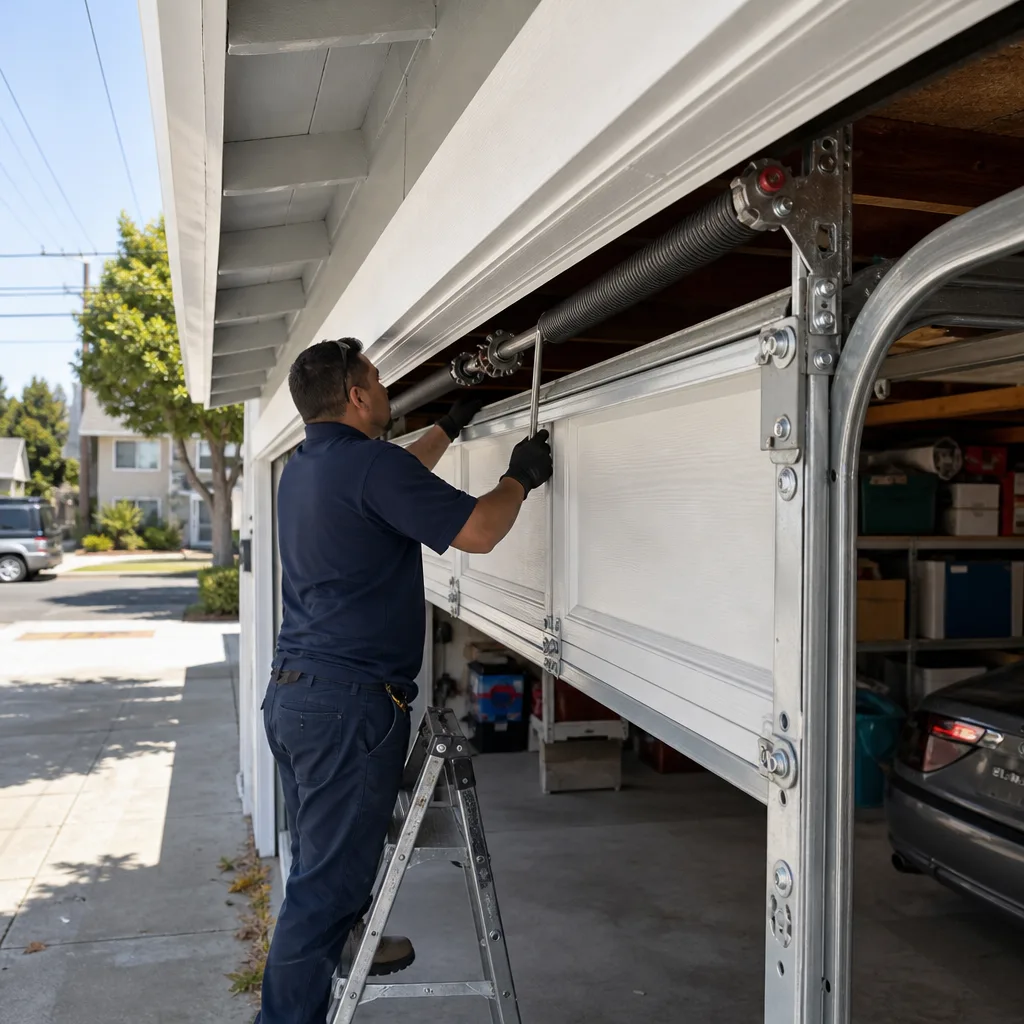 After
After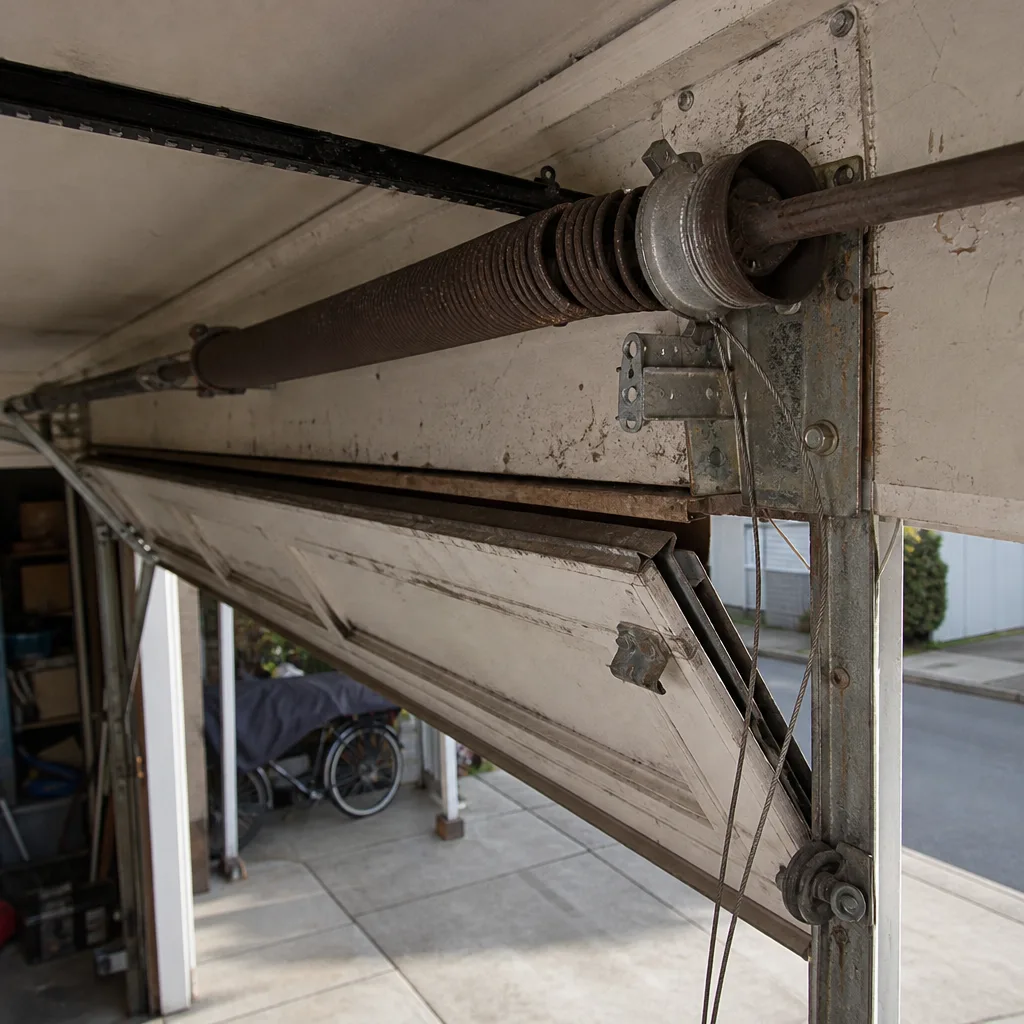 Before
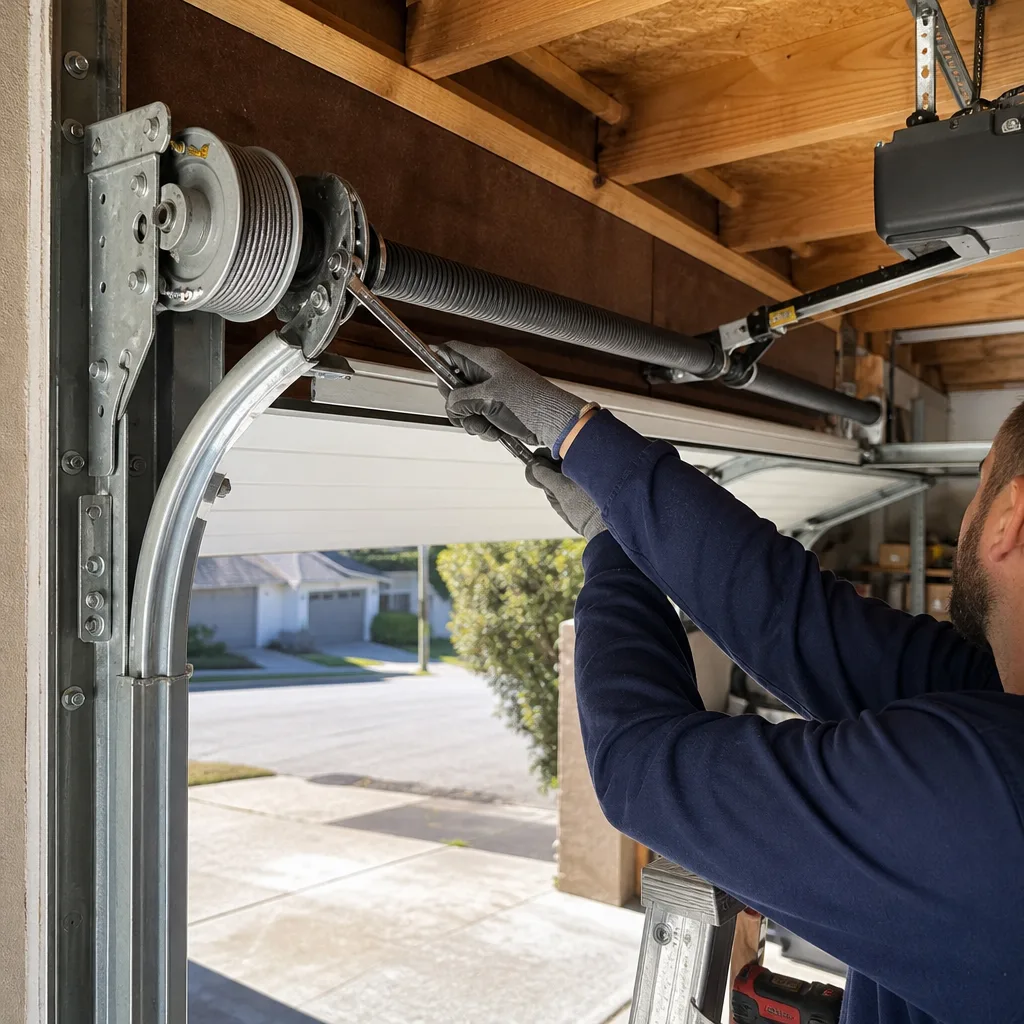 After
AfterWhat Raynor Garage Door Installation Costs in San Francisco
Here are the real ranges we quote on Raynor jobs in San Francisco:
- Standard Raynor steel door, single car: $825 – $1,395 installed
- Standard Raynor steel door, double car: $1,195 – $1,995 installed
- Raynor Aspen or ShowCase with higher-spec insulation: $1,495 – $2,295 installed
- Raynor Colonial or Estate wood door: $1,895 – $2,595 installed, depending on wood species and section count
- Custom Raynor door (odd opening size, window inserts, special finish): quoted case by case, generally $1,600 – $2,595 plus material lead time
What moves the price: the number of sections, wood vs. steel, insulation value, window inserts, whether you need new tracks or can reuse the existing ones, and whether we’re replacing the opener at the same time. If the opener is fine, leave it – we’ll tell you when it’s worth keeping and when a new LiftMaster, Chamberlain, or Genie unit is the better fit for a brand-new door. Every estimate is free, and every price is on paper before the work starts. Call (650) 550-9734 for an exact number on your opening.
Why San Francisco Homeowners Call Doyle Garage Doors San Francisco for Raynor Work
We’ve been doing garage doors since 2001 as part of the Threshold Group family, and our approach to a Raynor installation hasn’t changed in that time: tell you exactly what’s wrong, what it costs, and who’s showing up – before any work begins. Our technicians are background-checked and identity-verified under the Threshold Standard, which means the person who pulls into your driveway is the same person whose name and photo we sent to your phone. Every job gets a written price before a wrench comes out, and every installation carries the 365-Day Done Right Promise – if the door, the springs, the tracks, or anything else we touched fails within a year, we come back and correct it at no charge. We also service LiftMaster, Chamberlain, and Genie openers, so if your Raynor door is getting a new operator at the same time, we handle the entire job in one visit. Aaron Teague, our owner, learned the trade at Los Angeles Trade-Technical College and has spent more than two decades in front of doors like yours – including plenty of Raynor installs in the Sunset District, where the salt air and fog teach you quickly which hardware survives and which doesn’t. Tell me what it’s doing – or not doing – and I’ll tell you exactly what it needs.
FAQs
A new Raynor door installation in San Francisco runs $825 – $2,595 depending on the series, size, material, and whether you’re replacing the opener at the same time. A standard single-car steel Raynor starts around $825, while a double-car wood Colonial or Estate line door typically lands between $1,895 and $2,595. We give every homeowner a written price before the work starts – no surprises on the invoice. Call (650) 550-9734 for a free, no-pressure quote on your specific opening.
For standard size Raynor steel doors, we can often schedule installation within the same week, and stock doors are sometimes available same-day or next-day on lighter schedules. Custom Raynor doors – wood, specialty finishes, odd openings – take two to three weeks from order to install because the door is built to your specific measurements. We’ll tell you the honest timeline for your situation when we measure, not before we know what you need.
No – Raynor doors are designed to be installed by any competent installer, and using properly spec’d Raynor components keeps the manufacturer warranty intact. We use Raynor factory sections, spring packs, and hardware on Raynor installation jobs, and our own written 365-Day Done Right Promise covers the installation work itself. If something fails in the first year, we come back and make it right at no charge.
If the door sections are structurally sound and the failure is in the springs, rollers, cables, or hinges, repair is almost always the better financial call – even at $175 – $710 for a repair. If you’re seeing delamination, panel rot on a wood Raynor, or the door is 15-plus years old with multiple failing components, a full installation often makes more sense than stacking repairs. We’ll measure, inspect, and show you the math on both paths so you can decide with a written quote in hand. Call (650) 550-9734 and we’ll walk you through it.
No. The quote we hand you before the work starts is the quote you pay – period. We measure and inspect before we write the price, not after. If we find a rusted track or a compromised backroom condition mid-job that genuinely changes the scope, we stop and bring you a new written price before proceeding. There’s no surprise invoice at the end.
Written by Aaron Teague, Owner, Doyle Garage Doors San Francisco at Doyle Garage Doors San Francisco, serving San Francisco and nearby areas.