
Last updated October 16, 2026
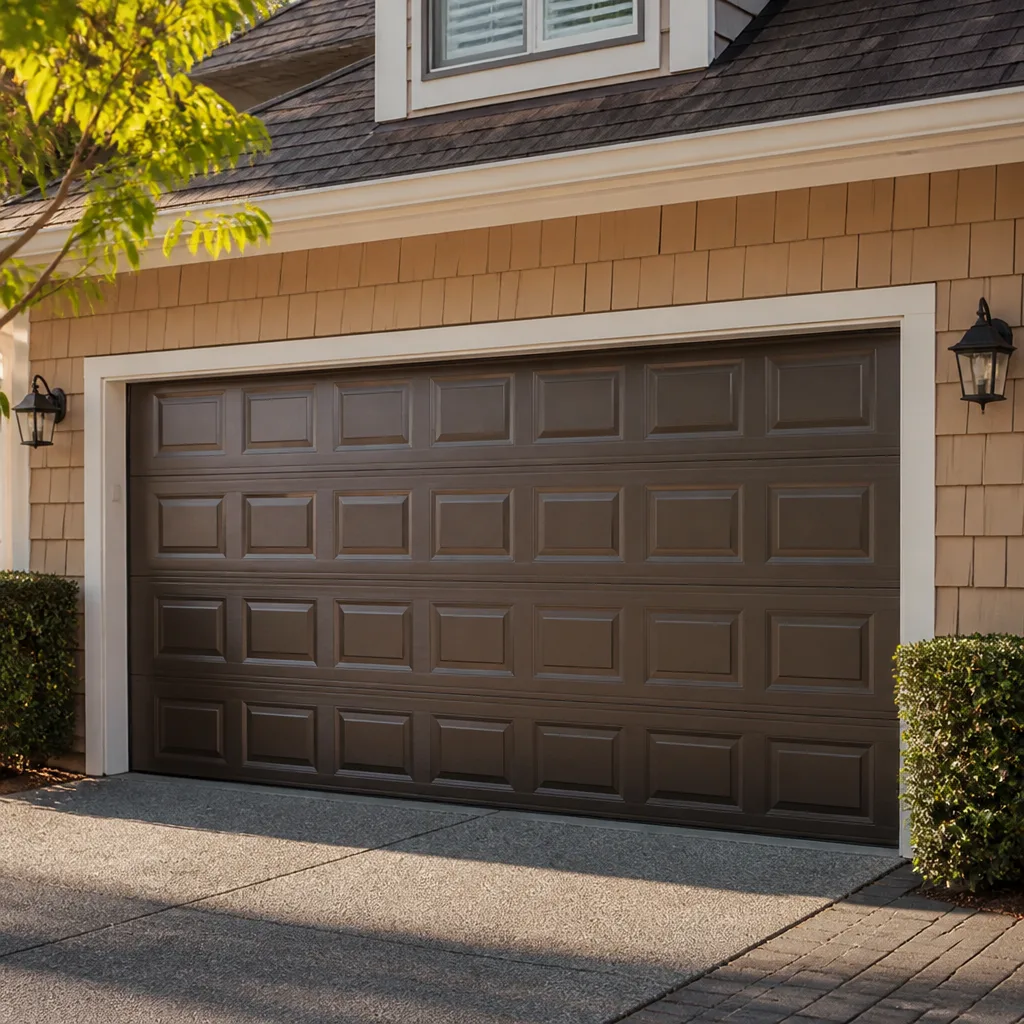 Raised-panel steel
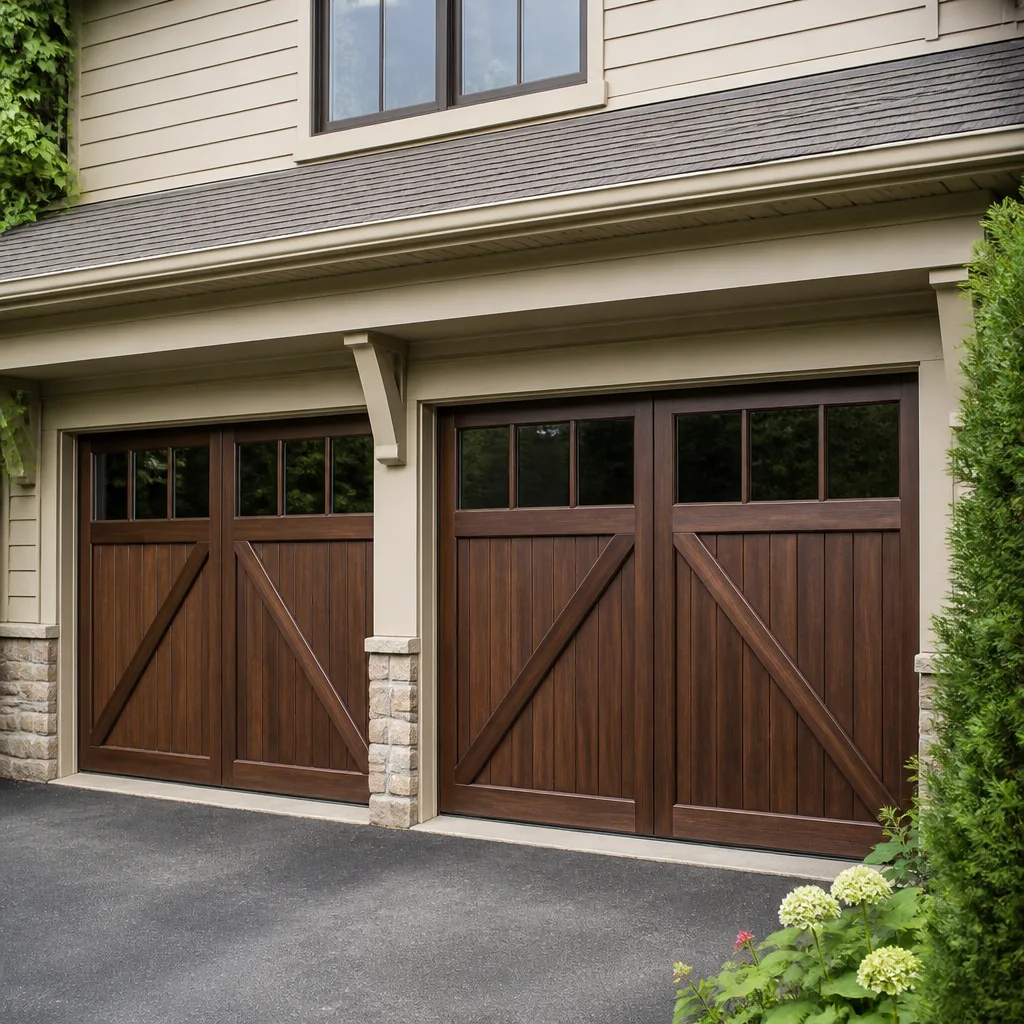 Carriage house
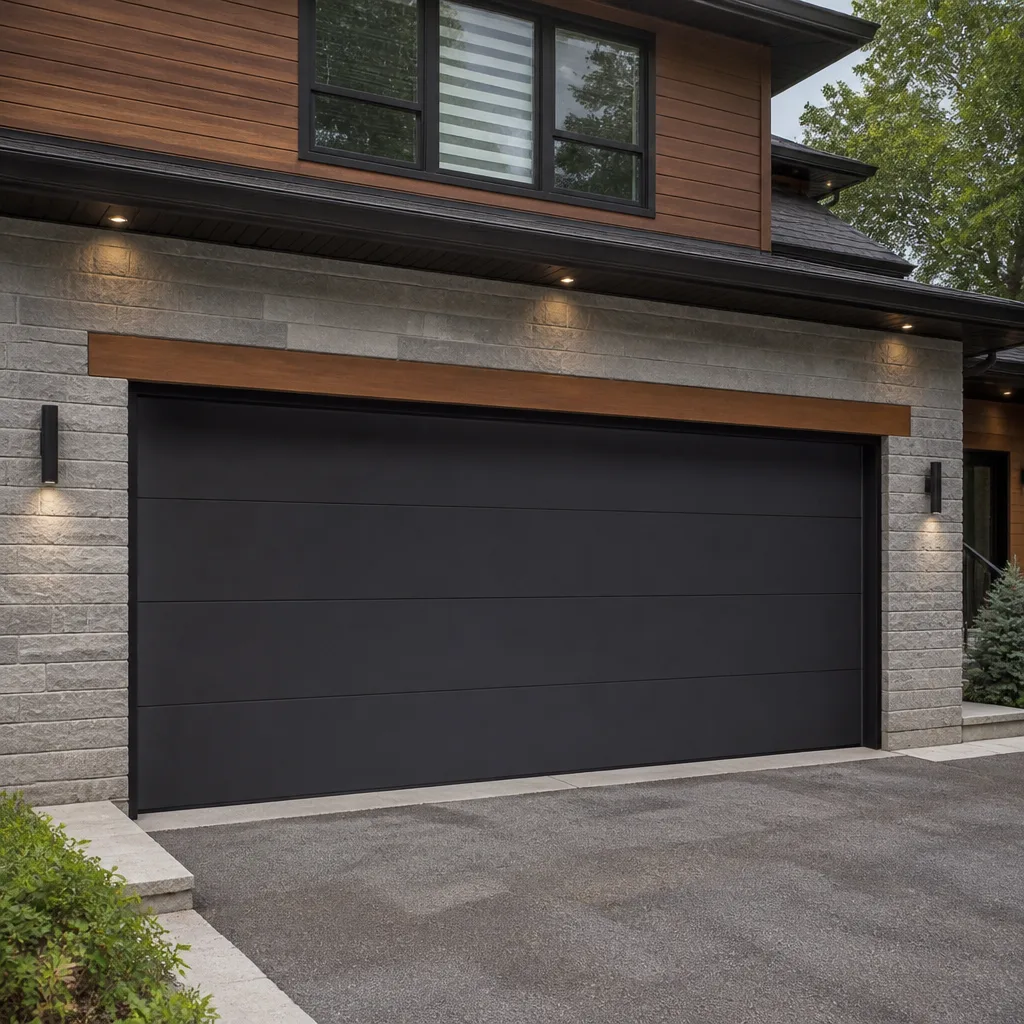 Modern flush
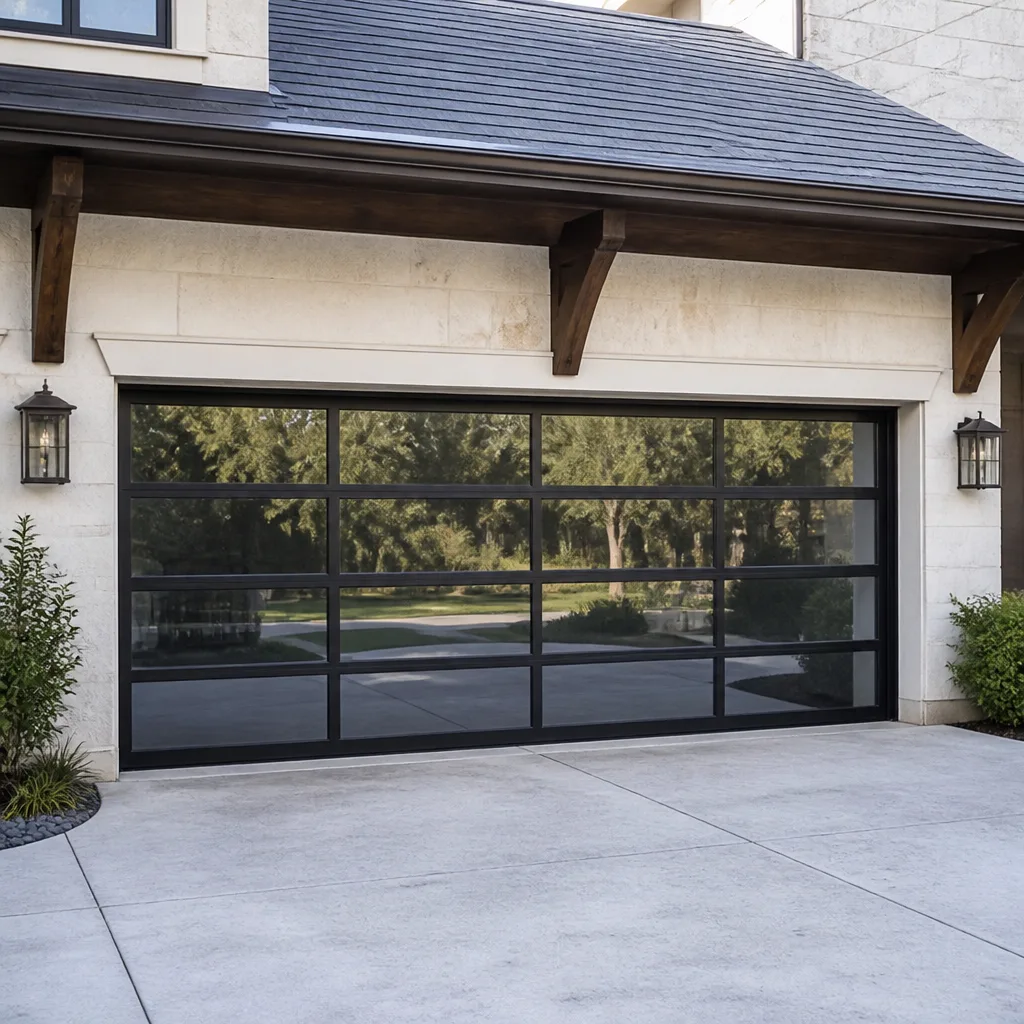 Full-view glass
 LiftMaster openers
 Chamberlain openers
Full 25-point door and opener safety check with every visit - springs, cables, rollers, tracks, and your LiftMaster or Chamberlain opener included
You get a price before we start. It does not change when the truck arrives.
Get your free estimateDIY vs Professional Garage Door: The San Francisco Homeowner’s Decision Guide
Here’s a fact most DIY garage door guides never mention: a torsion spring is under full load even when your door is closed. The spring that lifts your 150-to-250-pound garage door stores enough mechanical energy to break a wrist, fracture a forearm, or lacerate a face if it releases suddenly during removal. That single fact reframes the entire DIY debate. This guide walks you through what you can safely handle yourself in San Francisco, what genuinely requires a trained technician, and how to make the call without gambling on your safety, your insurance coverage, or the structural quirks of older SF garages. For more guides & resources, visit our blog.
Quick Answer
Most San Francisco homeowners can safely handle basic maintenance tasks like weatherstripping replacement, sensor realignment, and lubrication themselves. But torsion spring replacement, cable work, and track realignment carry serious injury risk and legal liability that make professional repair the only rational choice. The decision isn’t about mechanical skill. It’s about which failures can hurt you and which ones just inconvenience you.
Styles & brands we work with
Table of Contents
- The Real Risk: Why Torsion Springs Are Different
- What’s Genuinely Safe to DIY
- What Requires a Professional: The Non-Negotiable List
- The Insurance Reality in San Francisco
- The Honest Cost Math: DIY vs Professional
- San Francisco Garage Quirks That Break DIY Instructions
- The Middle Path: What to Prepare Before a Technician Arrives
- How Brand Choice Affects the DIY Decision
The Real Risk: Why Torsion Springs Are Different
A torsion spring is the large coil mounted horizontally above your garage door opening. It doesn’t look dangerous, which is precisely the problem. When a technician winds one of these springs during installation, they’re storing rotational force measured in inch-pounds per turn, or IPPT. A typical residential spring stores enough energy to lift your door roughly 10,000 times over its lifespan. When that spring snaps, or when a homeowner attempts removal without the correct winding bars, that stored energy releases in a fraction of a second.
We’ve spoken to San Francisco homeowners in the Richmond District, the Mission, and Noe Valley who underestimated this. The outcome is rarely a close call. It’s a trip to UCSF’s emergency department or Saint Francis Memorial. The spring doesn’t warn you. It doesn’t slow down. It either holds or it catastrophically releases.
Extension springs, the older-style springs that run parallel to the horizontal tracks, are marginally less dangerous but still under significant tension. They’re more common in pre-1970s San Francisco garages, particularly in the Sunset and Excelsior neighborhoods where housing stock dates to the 1930s and 1940s. Both spring types fail suddenly. Both require specialized tools and training to replace safely.
This is why our team at Doyle Garage Doors San Francisco treats spring work as a strictly professional task. Every technician who works under the Threshold Standard is trained to assess spring condition, measure IPPT ratings precisely, and replace springs under controlled conditions. The alternative – a homeowner with a $25 winding bar set from a big-box store – is a risk no amount of YouTube watching eliminates.
What’s Genuinely Safe to DIY
Not everything on a garage door is dangerous. Some tasks are genuinely appropriate for a careful homeowner with basic tools. These jobs involve parts that aren’t under significant mechanical tension and don’t affect the door’s structural balance. Here’s the honest list:
Replace Weatherstripping
The rubber seal along the bottom of your door and the vinyl strips along the sides and top degrade over time, especially in San Francisco’s coastal climate where salt air and moisture accelerate rubber breakdown in western neighborhoods like the Outer Sunset and Sea Cliff. Replacing weatherstripping is straightforward: remove the old strip, clean the channel, slide in the new one. Kits are available at any hardware store for $15 to $40. This task requires no specialized knowledge and poses no safety risk.
Lubricate Moving Parts
Twice a year, use a silicone-based or lithium-based spray lubricant on the rollers, hinges, and the torsion spring itself. Avoid WD-40; it’s a solvent, not a lubricant. In San Francisco’s damp climate, especially in fog-belt neighborhoods, a light coat of lithium grease on metal-to-metal contact points prevents the squealing and stiffness many homeowners hear during winter months. This is a five-to-ten-minute task that costs under $10. For a complete schedule, see our Garage Door Repair Maintenance Checklist for San Francisco Homeowners.
Realign Safety Sensors
The photo-eye sensors mounted about six inches off the ground on either side of your door track occasionally get bumped out of alignment. If your door reverses for no apparent reason, check that the small lights on both sensors are illuminated. Gently adjust the sensor brackets until both lights are steady. This is safe, simple, and solves a surprisingly large percentage of “the door won’t close” complaints.
Replace Wall Button Batteries and Wiring
The wall-mounted control button is low-voltage. Replacing the battery in a wireless remote, or swapping out a worn wall button, is well within most homeowners’ capability. Even running new low-voltage wire from the button to the opener is safe; the voltage is typically 24 volts or less.
What These Tasks Have in Common
None of these jobs involve parts under load. None affect the counterbalance system. None create a scenario where the door could fall unexpectedly. If you make a mistake, the worst outcome is a door that still doesn’t work perfectly, not a trip to the emergency room. Use that as your filter for any DIY garage door project.
What Requires a Professional: The Non-Negotiable List
This is where the DIY conversation gets real. The following tasks require a professional technician. Not because a homeowner can’t learn the mechanical steps, but because the consequences of a mistake are severe and the cost difference is insignificant compared to the risk.
Torsion Spring Replacement
We covered the physics above. One additional point: torsion springs are spec’d by IPPT rating, wire diameter, length, and number of turns. A spring that’s slightly off means a door that’s unbalanced – which destroys openers, bends tracks, and creates a dangerous falling-door scenario. In San Francisco, where many garages have non-standard door heights, the wrong spring is more common than you’d think.
Cable Replacement
The steel cables on either side of your door connect the springs to the bottom brackets. They’re under enormous tension. A frayed cable snapping during a DIY repair attempt can whip across the garage with enough force to cause deep lacerations. Cable replacement requires unwinding the spring tension first – which brings us right back to the spring discussion.
Track Realignment
Bent or misaligned tracks cause the door to bind, jump, or stop mid-cycle. Realignment looks simple but requires precise adjustment of brackets, rollers, and bearing plates. Done wrong, the door can derail entirely. A derailed door is a falling object weighing between 150 and 250 pounds. In a narrow San Francisco garage where you’re standing close to the track, that’s a serious injury risk.
Opener Logic Board Replacement
The logic board inside your opener controls safety features, travel limits, and force settings. Swapping one out involves matching exact model compatibility, which changes frequently across LiftMaster, Chamberlain, and Genie lines. Mistakes here don’t usually cause injury, but they cause repeated wasted trips and often damage the new board. This is a technical repair best left to someone who carries the right board on the truck.
Any Repair on a Door with a Broken Spring
If your spring is broken, the door’s counterbalance system is offline. The door is now effectively dead weight. Attempting any repair on a door with a broken spring – even something simple like replacing a roller – means manually lifting that full weight repeatedly while you work. People hurt themselves doing exactly this every year in San Francisco.
Our Garage Door Repair in San Francisco service handles all of these tasks with written pricing before any work begins. We’ll tell you the cost before we touch a bolt, and every repair carries a 365-day written guarantee – that means 365 days from the date of repair, if it fails, we come back and make it right at no charge.
The Insurance Reality in San Francisco
Here’s something almost no DIY guide addresses: what happens when your DIY repair fails and someone gets hurt. The insurance landscape in San Francisco is specific on this point, and it matters especially for multi-unit properties.
If you own a single-family home and a DIY torsion spring replacement fails, injuring you, your homeowners insurance will generally cover your medical costs through your existing policy. That’s not the scenario that should worry you. The scenario that should worry you is this: you attempt a repair, the spring fails six months later while a tenant, guest, or delivery person is in the garage. They sustain a serious injury. Their claim goes to your insurance company. Your insurance company asks who performed the spring replacement.
When the answer is “the homeowner, not a licensed contractor,” the insurance company has grounds to deny the claim. Why? Because the work wasn’t performed by a qualified professional. Many policies have exclusions for injuries caused by unpermitted or unlicensed work. In San Francisco, where a significant percentage of housing stock includes in-law units, multi-unit buildings, and rental properties, this isn’t a theoretical concern. It’s a documented liability pattern. Before tackling any work, review our guide to Garage Door Permits, Codes & Inspections in CA: What You Need to Know.
The cost difference between a DIY spring replacement and a professional one is $80 to $120 in labor. That’s the amount you’re gambling against a potential six-figure liability exposure. The math doesn’t work for the DIY side.
The Honest Cost Math: DIY vs Professional
Let’s stop pretending the numbers are close. Here’s what a torsion spring replacement actually costs in San Francisco, on both sides of the DIY fence. For a deeper dive, see our Garage Door Cost Breakdown: The San Francisco Homeowner’s Reference for 2026.
DIY Spring Replacement: What You’ll Actually Spend
- Torsion spring: $45 to $85 (depends on wire diameter and IPPT rating; many San Francisco doors need two springs, doubling this)
- Winding bar set: $35 to $60 (the $15 sets at discount stores are too short for residential springs, and using undersized winding bars is a known cause of spring failure during winding)
- Vice grips or clamps: $15 to $25 (to secure the shaft while working)
- Replacement cable: $15 to $30 (often needed concurrently; cables wear alongside springs)
- Total parts cost: $110 to $200 for a single-spring job, $155 to $285 for a double-spring job
Professional Spring Replacement: What You’ll Pay in San Francisco
- Single torsion spring replacement: $180 to $280 (including parts, labor, and typically a safety inspection of the full door system)
- Double spring replacement: $300 to $450 (most San Francisco techs recommend replacing both springs when one fails, since they wear at the same rate)
- Cost premium vs DIY: $70 to $120 for a single spring, $45 to $165 for double springs
The DIY savings are real but modest. And there’s a catch: if you buy the wrong spring – wrong IPPT, wrong wire diameter, wrong length – the spring won’t balance your door correctly. You’ll spend the money twice. Or you’ll have an unbalanced door that burns out your opener motor in 12 months. In San Francisco’s non-standard garage stock, wrong-spring purchases are common because the “standard” 7-foot door spring doesn’t fit the 6-foot-6-inch clearance found in many older homes.
Here’s the honest conclusion: DIY spring replacement only makes financial sense if you plan to do it more than once. Most San Francisco homeowners replace garage door springs once or twice in their entire lives. The tools, the learning curve, and the liability penalty make professional work the financially rational choice, even before you factor in the injury risk.
San Francisco Garage Quirks That Break DIY Instructions
Here’s where generic DIY guidance falls apart in San Francisco specifically. The city’s housing stock is older, denser, and architecturally more idiosyncratic than almost any other major U.S. city. Generic YouTube tutorials filmed in suburban Texas garages don’t account for what we regularly encounter in SF garages.
Non-Standard Clearance Heights
Many San Francisco garages – especially in the Sunset, Richmond, and Bernal Heights – have ceiling clearance under 7 feet. A standard torsion spring assembly requires about 12 inches of headroom above the door opening. When headroom is tighter, you need low-headroom track systems: special springs, drums, and cable routing. A standard DIY spring kit will not work. We see this constantly in post-1910 construction where garages were converted from carriage houses or carved out of basements.
Tandem-Depth Configurations
In neighborhoods like Nob Hill, Russian Hill, and Telegraph Hill, many garages are tandem-depth: two cars parked nose-to-tail in a space only slightly wider than a single car. The door at the front of the tandem is a standard residential door. But the door at the rear – if there is one – often requires specific spring configurations due to limited side clearance. DIY instructions assume standard side clearance. Many SF garages have inches, not feet.
Shared Structural Walls
In San Francisco’s many attached homes – particularly in the Mission and Potrero Hill – your garage shares a structural wall with your neighbor. Track supports and spring anchor plates mounted on that shared wall need precise placement to avoid compromising the wall’s integrity. Drilling blind into a shared seismic wall is a mistake with neighbor-level consequences. A professional assesses the wall before mounting anything.
Brine and Salt Air Corrosion
Garages in the Outer Sunset, Outer Richmond, Visitacion Valley, and Bayview sit close enough to the Pacific or the Bay that salt-laden air accelerates metal corrosion. Springs rust faster. Cables fray sooner. Rollers pit. A DIY inspection might miss early-stage corrosion that a trained eye catches immediately. This is precisely the kind of issue that turns a “simple lubrication job” into a spring failure six weeks later.
The Middle Path: What to Prepare Before a Technician Arrives
Here’s a strategic approach that saves money without any injury risk: do the prep work yourself, let the professional do the repair. When we arrive at a San Francisco job prepared, we spend less billable time diagnosing and more time fixing. Here’s what helps:
- Take a photo of the door from inside the garage – show us the spring assembly, the track configuration, and the clearance above the door. This tells us which system we’re working with before we load the truck.
- Note your opener brand and model number – there’s a label on the motor housing. This tells us which parts we might need if the issue involves the opener, not the door.
- Record a 10-second video of the problem – if the door sticks, jumps, hesitates, or makes a noise, capture it. A symptom video often lets us identify the failure mode before we arrive.
- Measure the door height and width – many SF doors are non-standard. Exact dimensions help us confirm we have the right spring or track system on hand.
- Note any recent changes – did the door start behaving differently after a power outage? After a neighbor did construction? After the weather shifted? Context helps.
This prep work costs you ten minutes and saves potentially an hour of diagnostic time on our end. It’s the smart way to save money without touching a single tool under tension. If you’d like guidance on what to photograph or measure, call (650) 550-9734 and a live person – day, night, weekend, or holiday – will walk you through it.
How Brand Choice Affects the DIY Decision
Not all garage door brands are equally DIY-friendly when it comes to sourcing parts and understanding installation. Some considerations if you’re weighing a DIY approach on a brand-specific issue:
Clopay doors are common in San Francisco, particularly on newer construction and renovated homes. Clopay’s residential line includes many doors with standard spring configurations, which makes parts easier to find. But Clopay’s higher-end models use torsion assemblies that are precisely spec’d to the door’s weight; guessing wrong on spring size is a known failure point.
Amarr doors have become popular in SF remodels over the last decade. Their commercial-grade models, common on mixed-use buildings with ground-floor garages in neighborhoods like Hayes Valley and SoMa, use springs with higher cycle ratings. These springs are larger and more dangerous to work with, not less.
Wayne Dalton doors often use a proprietary torque tube system instead of traditional torsion springs. This system is actually somewhat more self-contained, but it requires Wayne Dalton-specific parts. A DIY repair using generic springs will not work, and some big-box store employees don’t know the difference. We regularly fix Wayne Dalton doors in San Francisco where previous DIY attempts used the wrong component entirely.
In our experience across San Francisco, brand-specific knowledge matters most when you’re dealing with a proprietary system. Our team carries parts for Clopay, Amarr, Wayne Dalton, Craftsman, and all other major brands, which means we don’t have to order parts between visit one and visit two. Contact us through Doyle Garage Doors San Francisco home and we’ll tell you which brand you’re working with and what’s involved.
Common Mistakes to Avoid
- Using WD-40 to lubricate a garage door. WD-40 is a solvent. It strips existing lubricant and accelerates wear. Use lithium grease on hinges and rollers, and a silicone spray on the torsion spring. In San Francisco’s damp climate, the wrong product choices show up as accelerated corrosion within a season.
- Replacing only one spring on a double-spring door. Springs wear at the same rate. If one fails, the other is near the end of its life. Replacing only the broken spring creates an unbalanced door and means another service call is only months away.
- Using undersized winding bars. The $15 winding bar sets sold at some hardware stores are too short to provide proper leverage on residential torsion springs. The bar flexes at full tension, and a flexing winding bar is how people lose fingers. Professional tools start at longer lengths for a reason.
- Assuming your San Francisco garage has standard clearance. Older SF homes frequently have low headroom, narrow side clearance, or shared structural walls. Generic DIY instructions assume a garage built in the 1990s. Measure before you buy anything.
- Ignoring a shaking door. A door that shakes, vibrates, or struggles halfway up is telling you the spring is wearing out. Waiting until it fails completely means a heavier, more dangerous repair. Addressing it early usually means a simpler spring replacement instead of a track and spring job.
- Tightening bolts without a torque wrench. Garage door track bolts and spring anchor bolts have specific torque specs. Over-tightening one side throws the door out of plumb. Under-tightening lets the track shift under load. Both create premature wear and a safety hazard.
See the difference
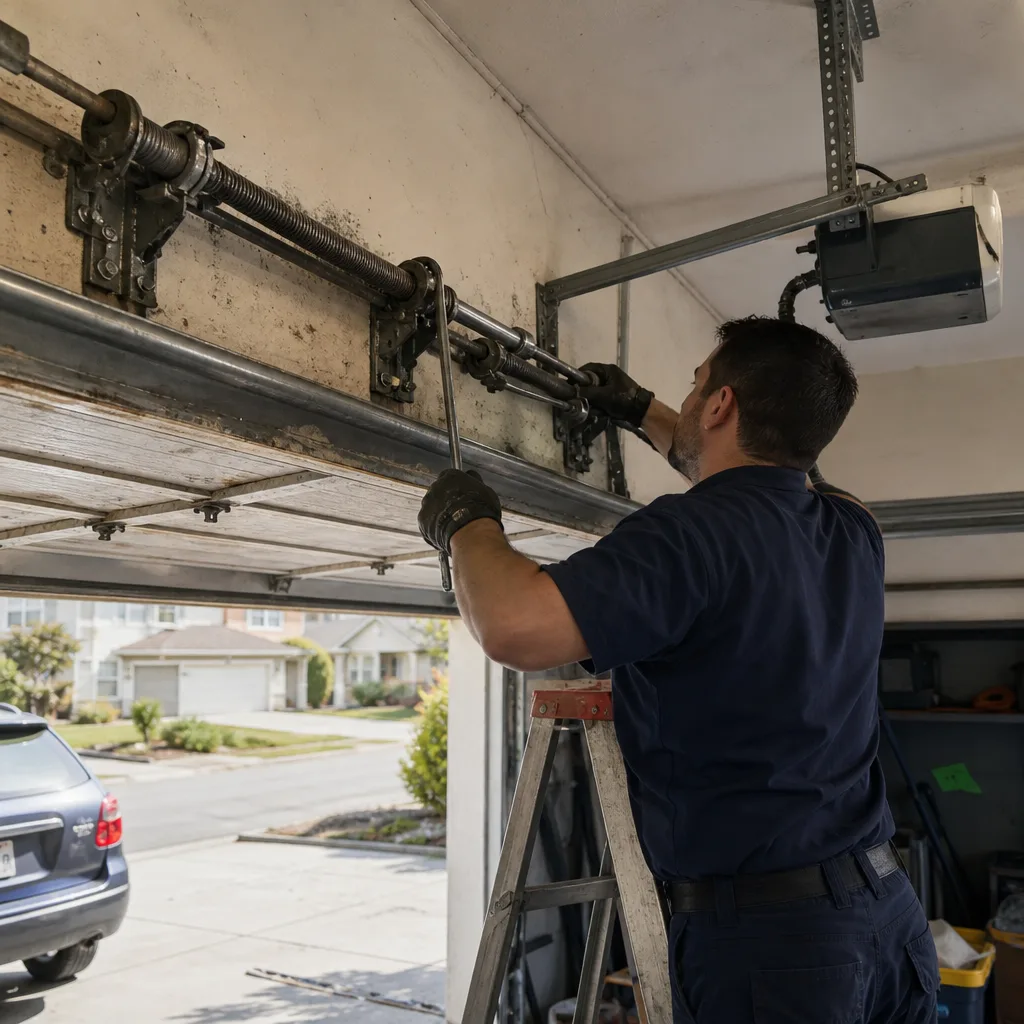 Before
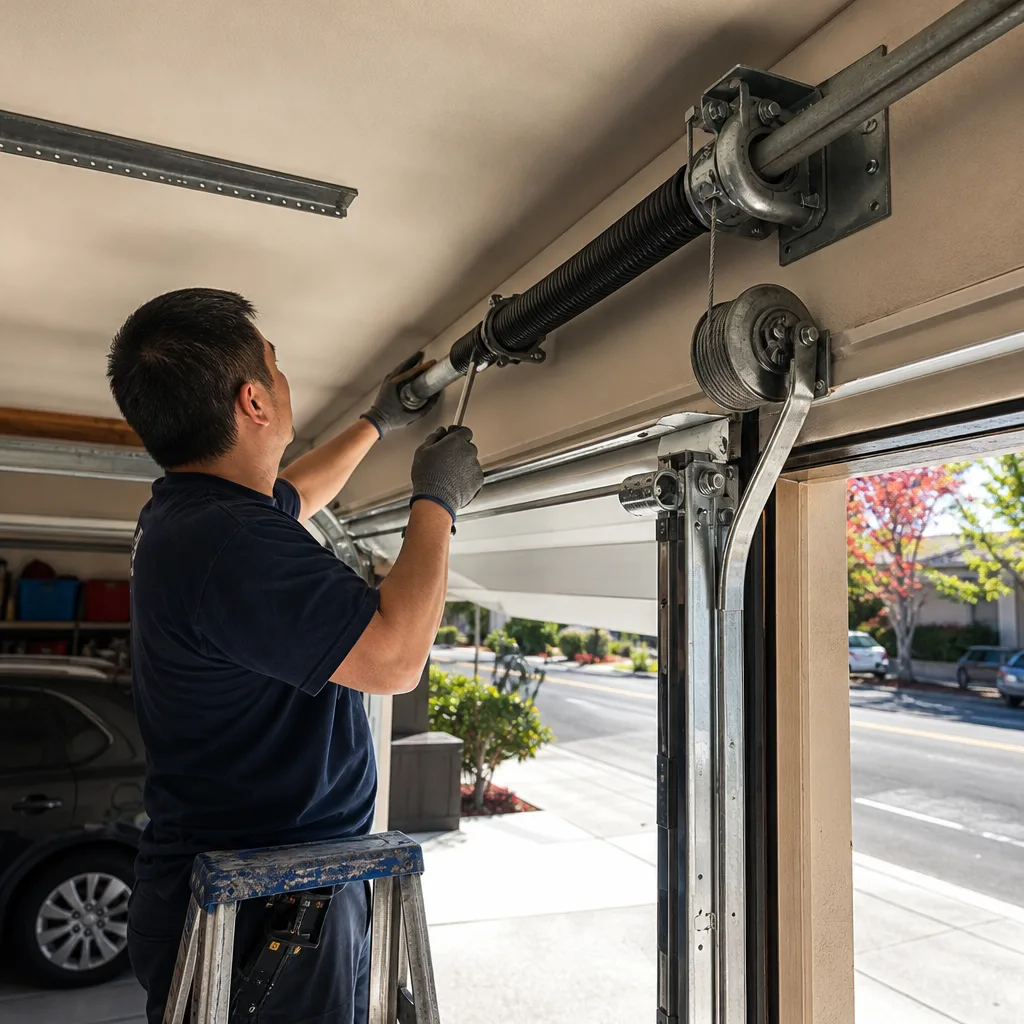 After
After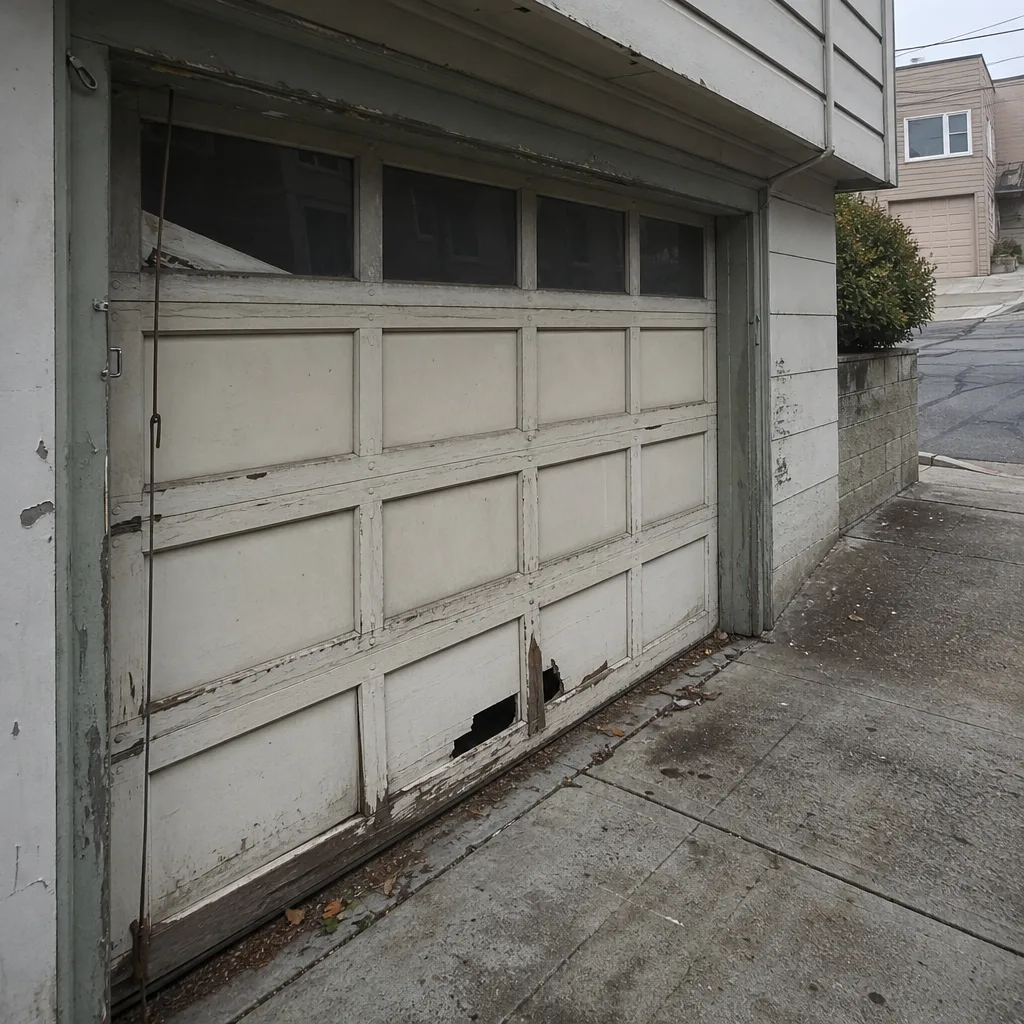 Before
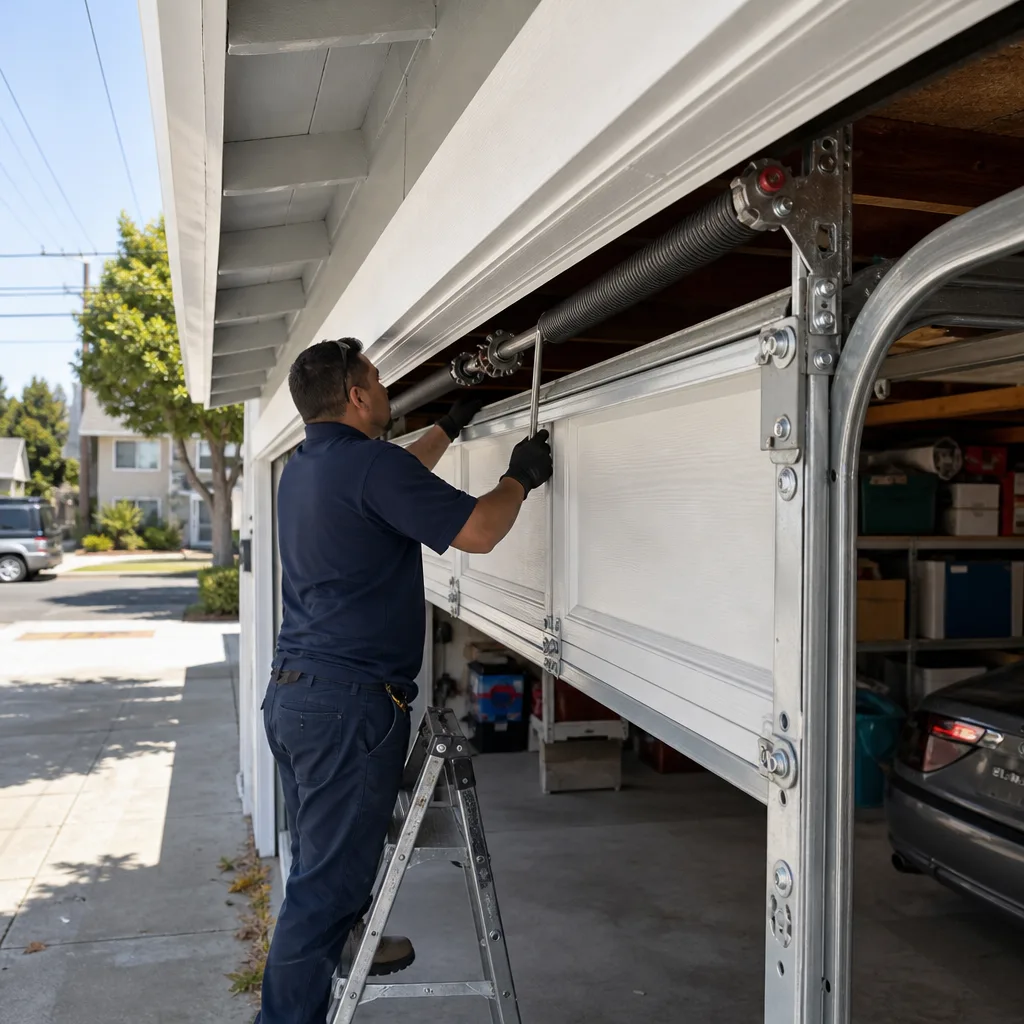 After
After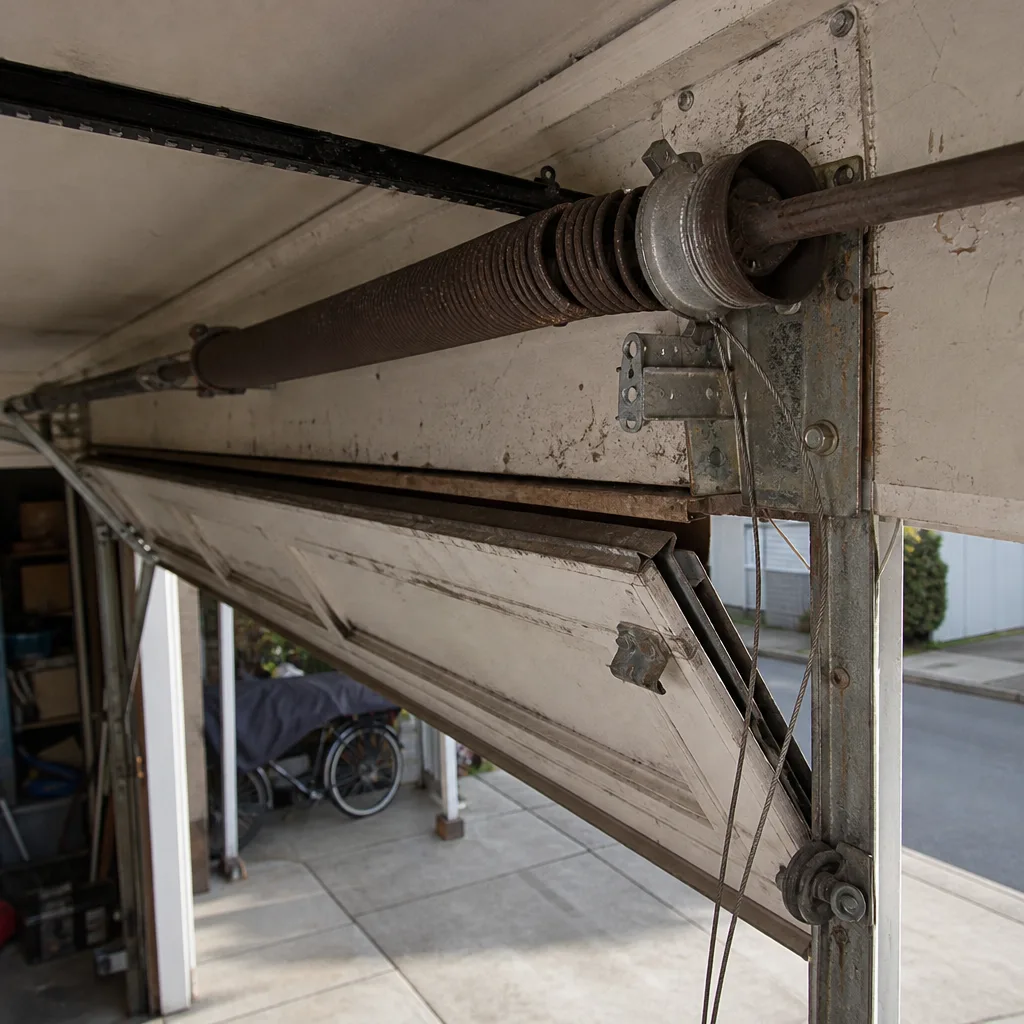 Before
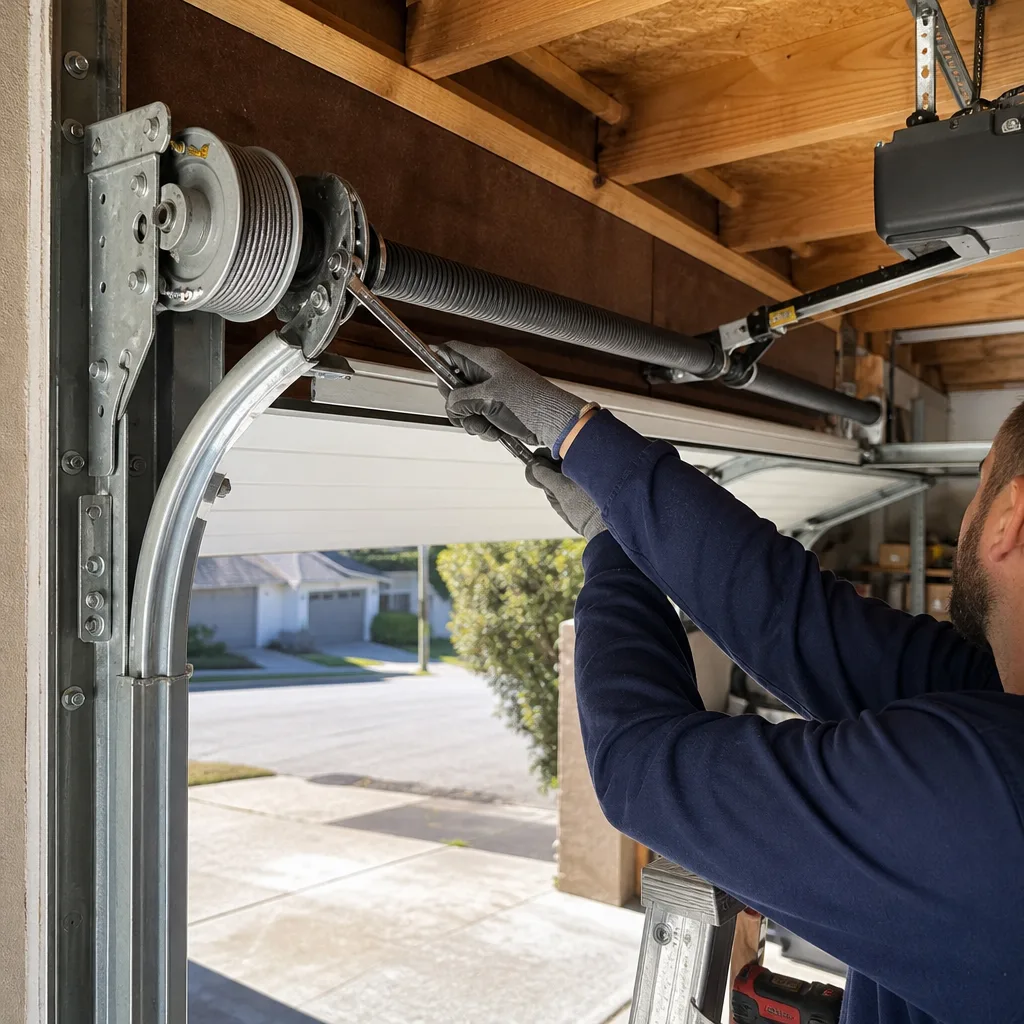 After
AfterWhen to Call a Professional
Call a technician if you see a visibly broken spring (the coil will have a visible gap), a frayed cable, a door that drops faster than normal, a door that’s crooked in the opening, or an opener that runs but the door doesn’t move. Also call if you’ve tried the safe DIY tasks – sensor alignment, lubrication, weatherstripping – and the problem persists. A persistent symptom means something deeper is wrong.
Doyle Garage Doors San Francisco offers free estimates throughout the city. Our team follows the Threshold Standard: every technician is background-checked and identity-verified under Threshold Verified, you receive your technician’s name and photo before every visit, and the price is written down and handed to you before a single bolt is turned. Call (650) 550-9734 and a live person picks up every time.
Frequently Asked Questions
A homeowner physically can, but they shouldn’t. Torsion spring replacement requires specialized winding bars, precise IPPT measurement, and an understanding of spring tension that most homeowners don’t have. The financial savings are $80 to $120, which doesn’t justify the injury risk or the insurance liability exposure if the repair later fails and hurts someone. Professional replacement with a written guarantee is the rational choice.
In San Francisco, expect $180 to $280 for a single torsion spring replacement and $300 to $450 for a double-spring replacement. The range reflects spring size, door weight, and whether your garage has standard or non-standard clearance. The price you’re quoted before work begins is the price you pay; there’s no surprise invoice at the end. Call (650) 550-9734 for an exact quote.
It depends. If you injure yourself during a DIY repair, your own medical insurance generally handles it. But if your DIY repair later fails and injures a tenant, guest, or neighbor, your homeowners insurance may deny their claim on the grounds that the work wasn’t performed by a qualified professional. For San Francisco homeowners with in-law units or rental space in the garage-level property, professional repair is an insurance-safety decision more than a convenience.
The most common mistake we see is buying the wrong spring for a non-standard San Francisco garage. Many older homes in the Sunset, Richmond, and Bernal Heights have ceiling clearances under 7 feet, requiring low-headroom spring and track assemblies. Standard DIY spring kits don’t fit these systems, and the homeowner discovers this after disassembling the old spring – which is the most dangerous possible moment to learn about clearance issues.
Look at the area directly above the closed door. If you see a chunky coil mounted horizontally on a metal shaft, that’s a torsion spring. If you see thinner, longer springs running parallel to the tracks on either side, those are extension springs. Torsion springs are standard on post-1980 construction; extension springs are common on older San Francisco homes. Both are dangerous to replace without training.
It depends on the door’s condition. Solid wood doors from the 1950s and 1960s have value and are often worth repairing. Steel doors with rusted-through panels rarely warrant repeated repair investment. A good rule of thumb: if the repair cost exceeds 40% of the replacement cost for a comparable door, replacement is usually the smarter financial move. Our Garage Door Installation in San Francisco team can assess your existing door and give you an honest comparison – and we’ll tell you if repair makes more sense than replacement. We don’t upsell replacements on doors with years of life left.
The Bottom Line
The DIY vs professional question for garage doors isn’t about whether you can. It’s about whether the task carries risk that makes the modest savings irrational. Weatherstripping, lubrication, sensor alignment, and wall-button wiring are safe DIY territory. Torsion springs, cables, tracks, and logic boards belong to professionals, full stop. San Francisco’s older housing stock stacks the deck further against DIY: non-standard clearances, shared structural walls, and salt-air corrosion create complications generic instructions never anticipate.
When you call Doyle Garage Doors San Francisco at (650) 550-9734, you’ll get a live person on the phone, a written price before any work starts, and a technician whose name and photo arrive before they do. Aaron Teague and the team have served San Francisco since 2001, and every repair carries the 365-Day Done Right Promise in writing. For opener-specific issues, see our Garage Door Opener Repair in San Francisco page for details on common failure points and what repair involves.
Written by Aaron Teague, Owner at Doyle Garage Doors San Francisco, serving San Francisco since 2001.