
Last updated October 16, 2026
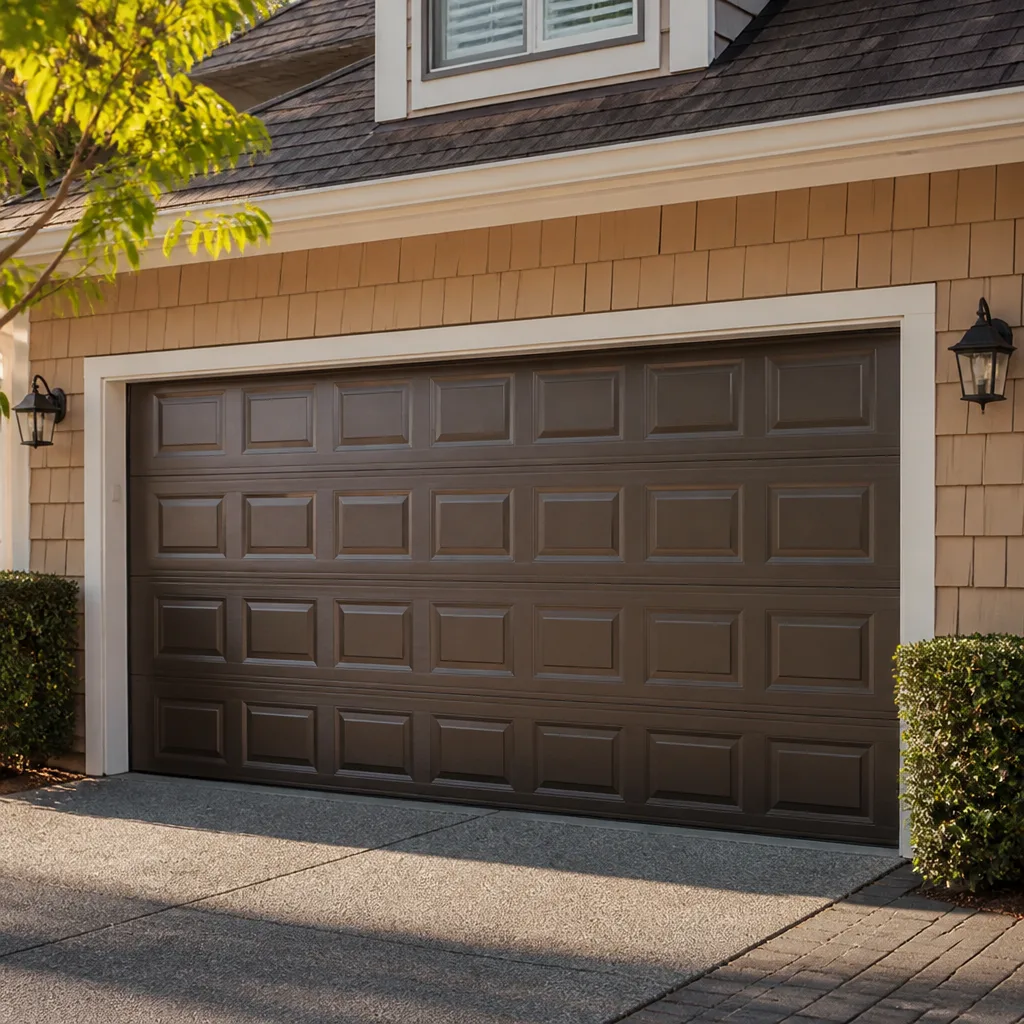 Raised-panel steel
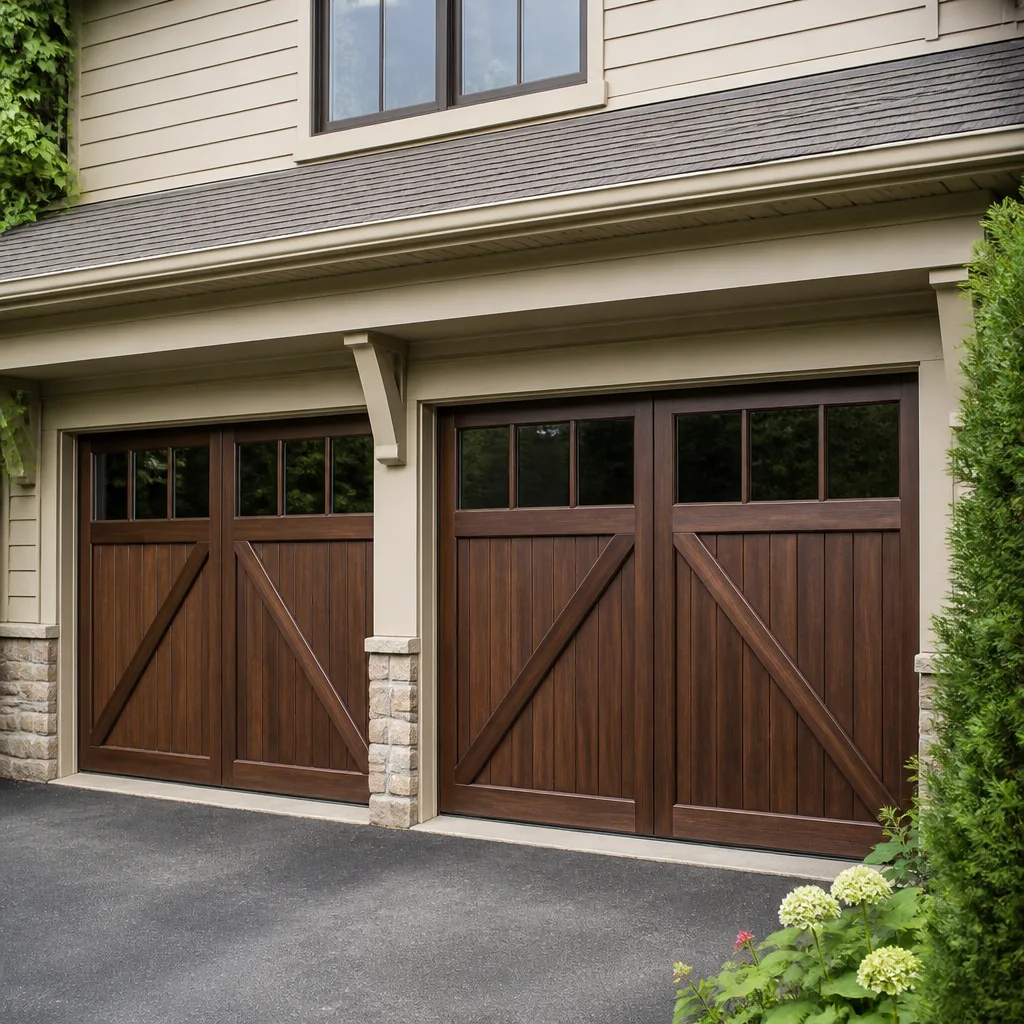 Carriage house
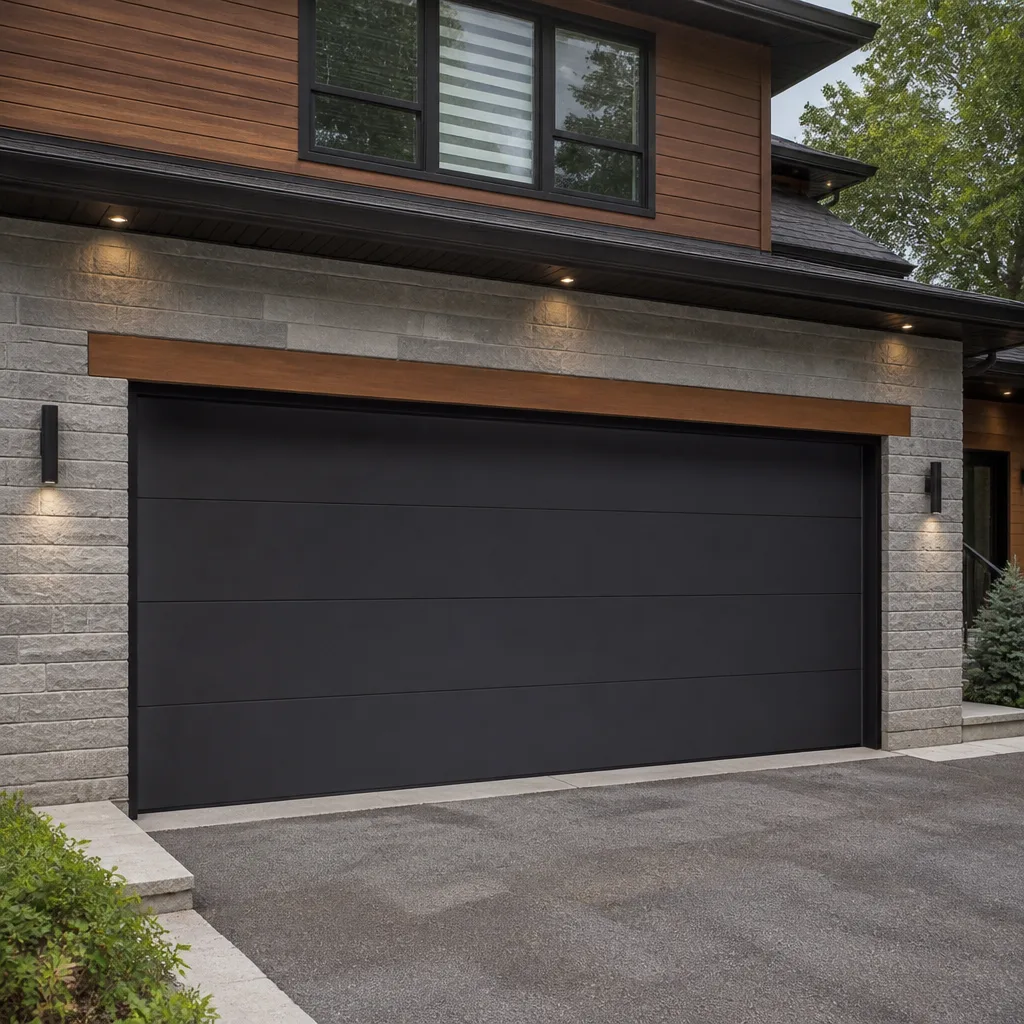 Modern flush
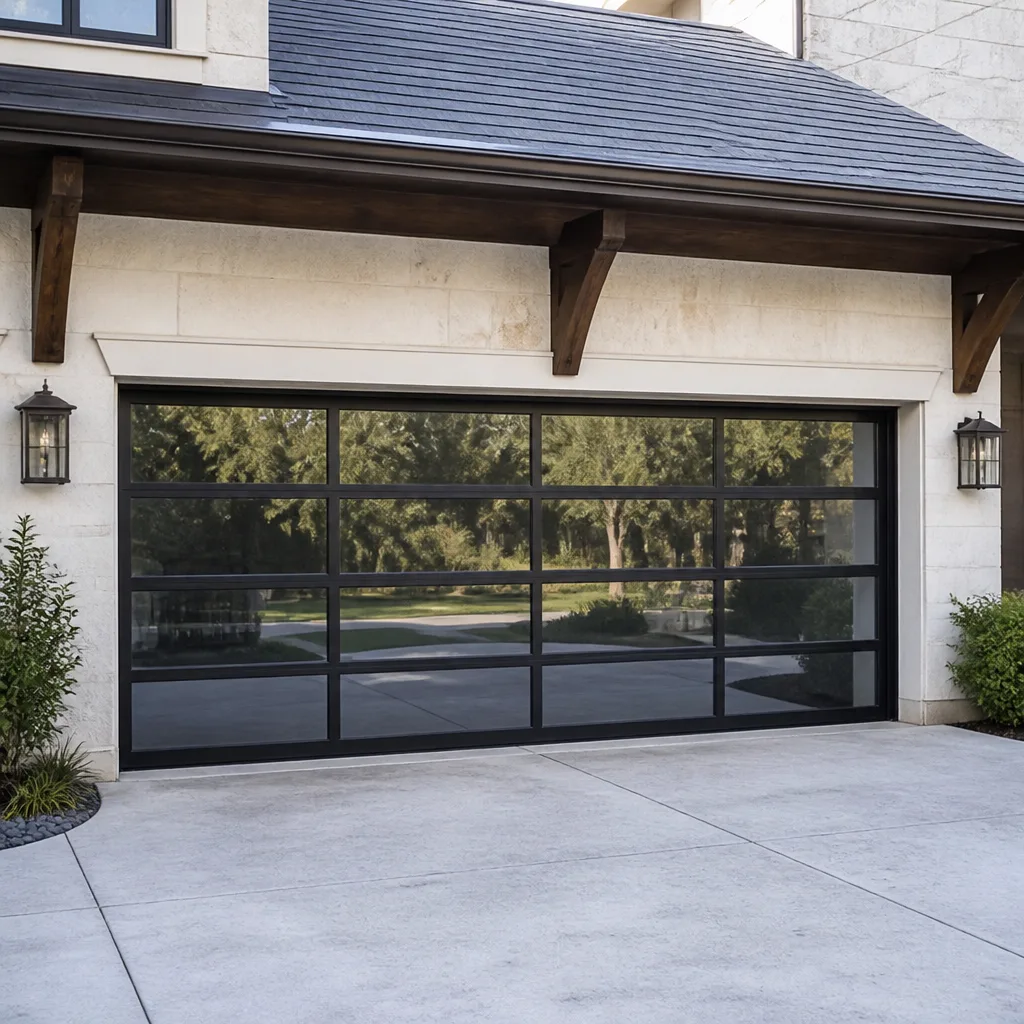 Full-view glass
 LiftMaster openers
 Chamberlain openers
Full 25-point door and opener safety check with every visit - springs, cables, rollers, tracks, and your LiftMaster or Chamberlain opener included
You get a price before we start. It does not change when the truck arrives.
Get your free estimateGarage Door Repair Maintenance Checklist for San Francisco Homeowners
Most garage door maintenance checklists tell you to “lubricate moving parts twice a year.” In San Francisco’s coastal fog belt, that interval is wrong. Salt-laden air oxidizes bare metal hinges in as little as four months, turning a $12 lubrication job into a $180 hinge replacement. This guide gives you a task-by-task inspection protocol built specifically for San Francisco’s marine climate, the hardware points that fail first here, and the maintenance rhythm that actually prevents breakdowns in the Sunset, Richmond, and every neighborhood west of Twin Peaks.
Quick Answer
A San Francisco garage door maintenance checklist should run every four months, not twice a year, because salt air and fog moisture accelerate corrosion on hinges, rollers, brackets, and torsion spring end-bearings. The core tasks are: lubricate all moving metal parts with a lithium-grease or silicone spray (never WD-40), test door balance by disconnecting the opener and lifting the door to waist height, inspect weatherstripping for gaps at the concrete apron, and check every bolt, hinge knuckle, and cable for rust or fraying. Homeowners who follow this routine typically extend door life by five to seven years and catch $50 problems before they become $400 repairs.
Styles & brands we work with
Table of Contents
- The Fog-Zone Corrosion Inspection: What to Check First
- The 10-Second Balance Test That Reveals Spring Health
- Lubrication for Marine Air: What Works, What Doesn’t
- Weatherstripping and San Francisco’s Sloped Driveway Problem
- The 5-Minute Monthly Visual Scan
- The Maintenance Log Format That Saves You Money
- Common Mistakes to Avoid
- When to Call a Professional
- Frequently Asked Questions
The Fog-Zone Corrosion Inspection: What to Check First
San Francisco’s fog is not neutral moisture. It carries salt particles picked up off the Pacific, and when that moisture settles on bare steel, the oxidation process accelerates well beyond what inland homeowners experience. In our two decades working on garage door repair in San Francisco, we’ve replaced more rust-seized hardware in the Outer Sunset and Sea Cliff than in all other neighborhoods combined. The good news: rust that’s caught early is usually a cleaning job. Rust that’s ignored becomes a replacement job.
Here’s the corrosion inspection protocol we recommend, in order of failure frequency:
- Bottom brackets – the L-shaped steel plates bolted to the bottom corners of the door. These sit closest to ground moisture and road splash. Look for orange-brown flaking at the bolt heads and along the plate edges.
- Hinge knuckles – the round pivots where hinge leaves fold together. Early rust appears as a dull brown film that wipes off with a rag. Advanced rust looks like pitted, scaly orange growth that we’ve seen bind a hinge so badly the door panel cracks when forced open.
- Torsion shaft end-bearings – the bearing plates at each end of the horizontal shaft above the door opening. Salt air works into these bearings and causes a gritty, grinding sound when the door moves. If you hear grinding during operation, the bearing is already compromised.
- Cables – the steel cables running from the bottom brackets up to the drums. Look for brown discoloration at the cable crimps. A rusted cable under tension is a genuine safety hazard and should be replaced by a professional, never patched.
Here’s the distinction that saves money: surface oxidation is a brown dust that wipes off with a dry cloth, leaving smooth steel underneath. That’s normal in San Francisco and simply means your maintenance interval should be four months instead of six. Corrosion pitting is different – it’s roughness you can feel with a fingernail, and it means the metal is structurally degrading. Pitted hinges, brackets, or cables need replacement, not cleaning.
The 10-Second Balance Test That Reveals Spring Health
Torsion springs – the large coil mounted above the door that does most of the lifting – are rated for a specific number of cycles, usually 10,000. In San Francisco, where many homes have garages used daily for cars, that’s roughly seven to nine years of life. When a spring weakens, the opener motor strains to compensate, burning itself out years early. The balance test tells you if your springs are doing their job.
How to run the 10-second balance test:
- Close the garage door completely.
- Pull the red emergency release cord hanging from the opener rail. This disconnects the trolley carriage from the opener motor.
- Lift the door by hand to waist height, about three feet off the ground.
- Let go. Watch what the door does.
What the result means:
- Door holds position – your springs are balanced and doing their job. Test again in four months.
- Door drifts downward – the springs have lost tension and the door is “heavy.” The opener is now lifting more weight than it should, which shortens motor life significantly. Spring adjustment or replacement is needed soon.
- Door drifts upward – the springs are over-tensioned. This makes the door want to fly open and can cause the cables to jump their drums during operation, a situation that ends with a door wedged crooked in the tracks.
One caution that bears repeating: torsion springs store enormous tension. If the balance test shows a problem, the fix involves winding or unwinding that spring under load. That is not a DIY project. Every year in the United States, homeowners are seriously injured attempting spring adjustments without proper training and winding bars. When the balance test fails, call a professional who does this work daily.
Lubrication for Marine Air: What Works, What Doesn’t
The single biggest maintenance myth we hear is that WD-40 is a garage door lubricant. It is not. WD-40 is a water-displacing degreaser and penetrant. It cleans metal, but it strips existing lubrication and evaporates within days, leaving surfaces drier than before. In San Francisco’s 80 percent average humidity, a door “lubricated” with WD-40 will seize faster than one never lubricated at all.
What actually works in marine air:
- White lithium grease (spray or tube) – the workhorse for metal-on-metal contact points. It stays in place, resists water wash-out, and survives the temperature swings between cold fog and warm afternoons that cause thinner lubricants to run off.
- Silicone spray – the right choice for nylon rollers and weatherstripping. It doesn’t attract dust and won’t break down rubber seals the way petroleum-based greases can.
Where to apply lubricant every four months:
- Hinge knuckles – one short spray at each pivot where the hinge leaves meet
- Roller stems – the thin shaft where the roller meets the hinge, not the wheel itself
- Torsion spring – a thin coat along the full length of the coil, which prevents the surface rust that develops in fog-prone garages
- Bearing plates at both ends of the torsion shaft
- Latch mechanism and lock cylinder – silicone spray only
One San Francisco specific tip: if your garage is uninsulated and you notice condensation forming on the door panels on foggy mornings, increase your lubrication interval from four months to three. The added moisture load accelerates wash-out, especially on hinges within the first two feet of the ground.
Weatherstripping and San Francisco’s Sloped Driveway Problem
Flat weatherstripping works on flat driveways. San Francisco has very few flat driveways. The city’s hills create concrete aprons that angle toward or away from the garage door, and over decades of settling, the concrete itself develops valleys and humps. A standard vinyl seal nailed to the bottom of the door cannot follow those contours. The result is a gap at one corner or the center – wide enough for fog moisture, road dust, and pests but easy to miss in a casual inspection.
How to check the bottom seal correctly on a sloped driveway:
- Close the door completely and wait for any automatic opener pressure adjustment to finish.
- Turn off the garage lights and close the door to the house.
- Get down at floor level and look along the entire bottom edge for light coming through from outside.
- Repeat from outside on a sunny day, looking for light leaks under the closed door.
If you find gaps, the fix depends on the size. Gaps under a quarter inch are usually corrected by adjusting the opener’s down-limit switch so the door travels slightly further into the closed position. For gaps larger than a quarter inch – which we regularly see on homes in Noe Valley, Glen Park, and Diamond Heights where driveways pitch steeply – the answer is usually a thicker bottom seal or a seal style designed for uneven floors. Bulb-style seals and T-shaped seals compress more than flat vinyl and bridge uneven concrete better. This is a $40 to $90 fix for a professional, and it pays for itself in reduced fog-moisture intrusion within the first wet season.
The 5-Minute Monthly Visual Scan
This is the fastest task on the checklist, and the one that catches the most problems. Once a month, with the door closed, walk the full width of the door and spend five minutes looking at specific points. No tools, no disassembly, no touching anything under tension.
- Look at both cables – the steel cables should be uniformly silver-grey. Any brown discoloration, kinking, or loose strands are a warning sign.
- Look at the track alignment – vertical and horizontal tracks should be straight, with a consistent half-inch gap between track and door edge. A narrowing gap in one section means the track has been bumped or the wall has shifted, which is common in San Francisco’s older homes where foundations move seasonally with moisture changes.
- Look at every hinge bolt – the bolts holding hinges to the door panels should sit flat. A bolt backing out by even an eighth of an inch will scrape the track and eventually snap.
- Listen – open and close the door once. A smooth, quiet operation sounds soft, with a steady motor hum. Grinding, popping, or rattling sounds each point to a different problem area, and they’re worth noting in your maintenance log before they become audible every cycle.
- Look at the opener rail – the trolley carriage on the rail should move smoothly. If the rail is sagging or the chain or belt shows slack, the opener needs attention before the door does.
This scan takes five minutes and requires no mechanical aptitude. The key is consistency: the same eyes, every month, looking at the same points. Most garage door failures don’t happen suddenly. They announce themselves over weeks with small changes that go unnoticed only when nobody is looking.
The Maintenance Log Format That Saves You Money
Here’s something most maintenance guides skip: documentation. When a technician arrives at a San Francisco home, the maintenance history matters. We can see a garage door that was lubricated three months ago and one that hasn’t been touched in three years, but understanding what failed when and what was done then helps us diagnose faster and quote more accurately. A written log also protects the homeowner: it creates a record of diligence that matters for home warranty claims and disclosure when selling the house.
The log doesn’t need to be elaborate. A simple notebook page or notes-app entry works. The format we recommend:
DATE: ______________

TASK PERFORMED: (lubrication / balance test / visual scan / weatherstripping check)

PART CONDITION NOTES:
- Hinges: (smooth / surface rust / pitted)
- Springs: (balance holds / drifts down / drifts up)
- Cables: (clean / brown discoloration / frayed)
- Bottom seal: (flat contact / small gap / large gap)

ACTION TAKEN:
- Lubricated with: (lithium grease / silicone spray)
- Part replaced: (none / hinge / seal / other)

NEXT CHECK DUE: (date, four months out)
Keep the log near the door, inside the garage, taped to the wall or in a drawer by the interior entry. When you call a company for garage door installation in San Francisco or a repair visit, having three years of log entries in front of you turns the conversation from “my door is making a noise” to “the left hinge showed pitting in February, the balance started drifting in June, and now it’s grinding on open.” That specificity gets the exact part fixed the first visit, which saves dispatch fees and prevents the frustration of repeat calls.
Common Mistakes to Avoid
- Using WD-40 as a lubricant. It degreases and evaporates. In San Francisco’s fog, the door will seize within two months. Use lithium grease on metal contact points and silicone spray on rubber and nylon.
- Lubricating without cleaning first. Spraying fresh grease over salt-crusted metal traps the salt under the lubricant and lets corrosion continue hidden. Wipe with a dry cloth, then lubricate.
- Ignoring a “noisy” door for months. A pop from the spring or a grind from the bearing is an early warning. Doors that are loud for six months become doors that fail on a Saturday night, which in San Francisco means an emergency service fee on top of the parts.
- Adjusting the opener force settings to compensate for a heavy door. When the springs weaken, some homeowners crank up the opener’s force dial so the door “works” again. This burns out the motor and masks the real problem. If the door is heavier than normal, test the springs.
- Replacing the bottom seal without checking the concrete contour. A new flat seal on a sloped San Francisco driveway will gap immediately. Match the seal profile to the driveway unevenness or the moisture keeps coming in.
- Spraying lubricant into the track. The track is not a bearing surface for grease. Greasing the track attracts dust and causes the rollers to skid and wear. If the track is dirty, wipe it clean. Lubricant goes on hinges, rollers stems, bearings, and the spring.
- Attempting torsion spring adjustment without training. The spring under load can release energy violently. If the balance test fails, leave the spring alone and call someone who does this work professionally.
When to Call a Professional
Most maintenance tasks on this checklist are safe for a homeowner to perform: lubricating, visual inspection, balance testing, and weatherstripping checks. The line where we tell our own customers to stop is the line where tools touch tension-loaded parts. If the balance test shows the door drifting up or down, if a cable shows rust or fraying, or if a spring has visible gaps in its coil, the repair involves parts under hundreds of pounds of stored force. That work should be done by a trained technician with the right equipment. Doyle Garage Doors San Francisco offers free estimates in San Francisco – call (650) 550-9734 and we’ll inspect the issue and give you a written price before any work begins. You’ll also know exactly who is coming to your door before they arrive: we send the technician’s name and photo ahead of every visit.
Frequently Asked Questions
Every four months is the right interval for San Francisco’s marine air, not the six-month interval that works inland. Salt and fog moisture oxidize hinges and rollers faster here, so if you live west of Twin Peaks or within a mile of the coast, move to a three-month schedule. Use lithium grease on metal contact points and silicone spray on nylon rollers and rubber seals.
A single torsion spring replacement in San Francisco typically runs $180 to $340 including the part and labor, depending on the spring size and cycle rating. Replacing both springs at once usually ranges $300 to $550 and is the smarter long-term move because the second spring is usually near the end of its life too. Every job we do includes a written price handed to you before work starts, so there’s no invoice surprise.
Disconnect the opener using the red emergency release cord, then lift the door to waist height and let go. If the door holds position, the springs are healthy. If it drifts down, the springs are losing tension and should be serviced soon. If it drifts up, the springs are over-tensioned.
The answer is almost always microclimate. Homes west of Divisadero get direct ocean fog with salt particles; homes in the Mission or Noe Valley get a mix of fog and sun that burns off moisture more quickly. Garage doors on uninsulated walls accumulate condensation overnight, which accelerates oxidation before morning. If your door rusts in months rather than years, you’re in the coastal fog band and should move to the three-month lubrication interval described in this guide.
Most maintenance visits can be scheduled for the same week, but we don’t promise same-day dispatch for non-emergency work. If your door is stuck open or closed and you need emergency service, call (650) 550-9734 and a real person answers 24/7 – day, night, weekends, and holidays. For routine maintenance, we’ll schedule a visit at a time that’s convenient for you and send the technician’s name and photo before arrival.
Even a brand-new garage door in San Francisco needs lubrication within the first four months. New hinges arrive with a light factory coating that marine air strips quickly. The balance test is also worth doing on a new door after six months of settling: track brackets and concrete pads shift slightly during the first wet season, and it’s normal for minor adjustments to be needed. A new door is not a maintenance-free door.
The Bottom Line
Garage doors in San Francisco live in a harder environment than nearly anywhere else in the country – salt air, fog moisture, sloped driveways, and older homes with shifting foundations. The maintenance rhythm that works here is shorter and more specific: four-month lubrication with marine-grade products, a monthly five-minute visual scan, a balance test every four months, and weatherstripping checks tied to your driveway’s actual contour. A documented log makes future repairs faster and more accurate. And when the checklist turns up a problem, you want a technician who tells you the price before touching the door and proves who they are before stepping through it. If that’s the kind of service you want, we’d be glad to set up a maintenance visit – call (650) 550-9734 for a free estimate. Every repair includes our written 365-Day Done Right Promise: if it fails within a year, we come back and make it right at no charge. No exceptions, no fine print.
Written by Aaron Teague, Owner at Doyle Garage Doors San Francisco, serving San Francisco since 2001.
See the difference
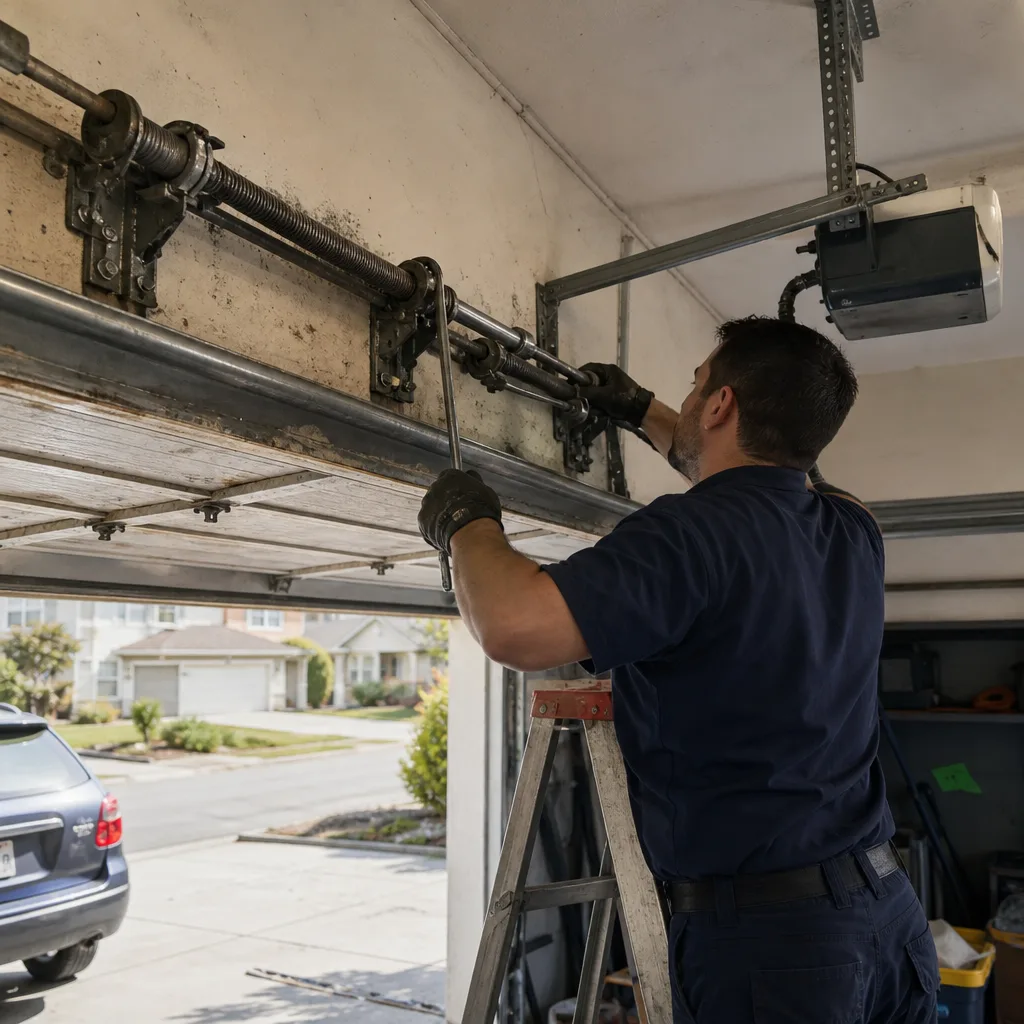 Before
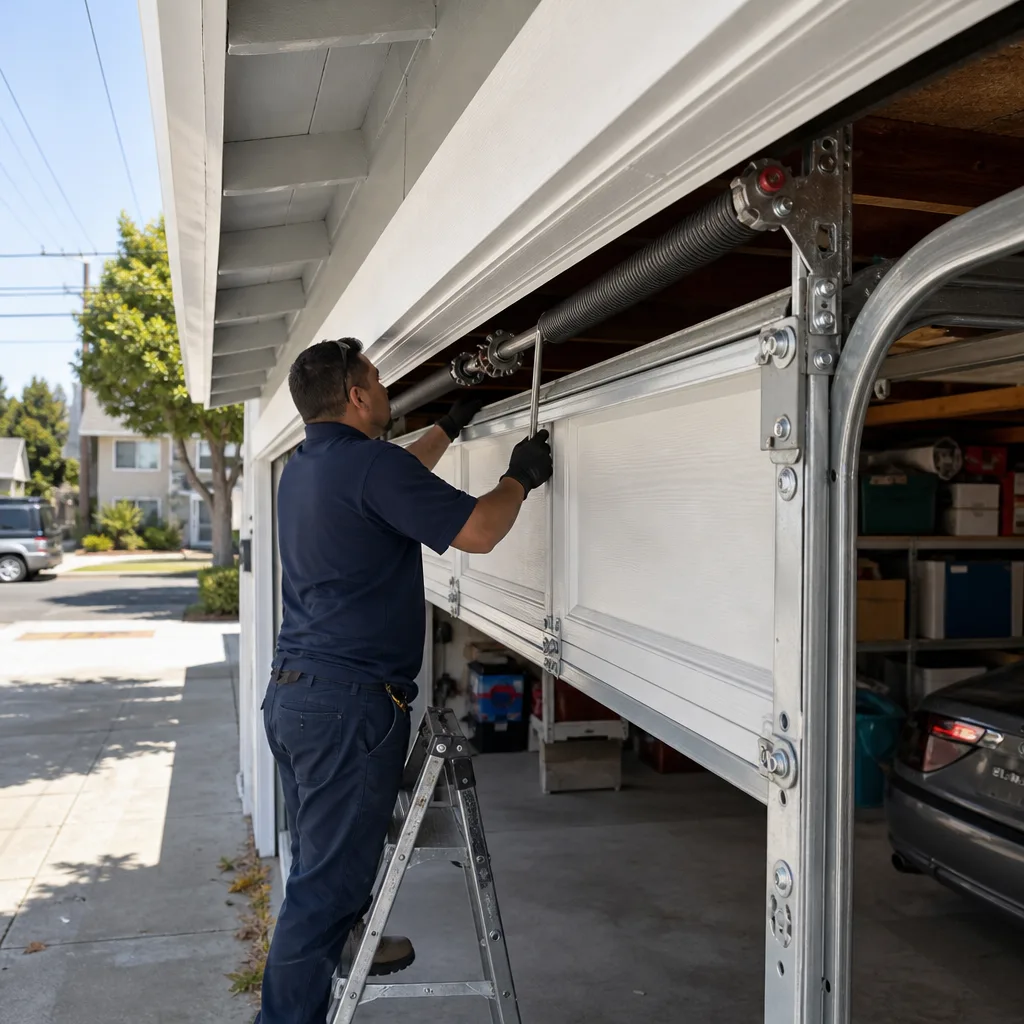
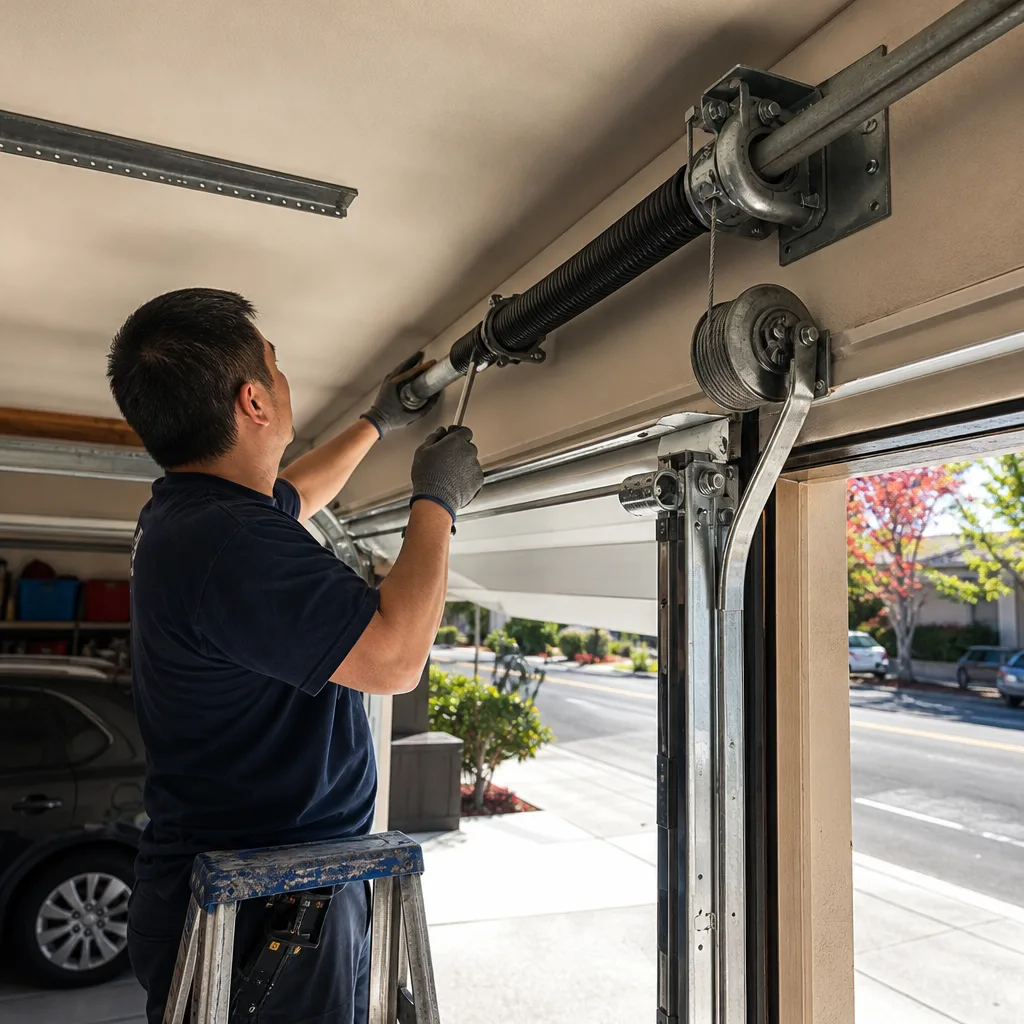 After
After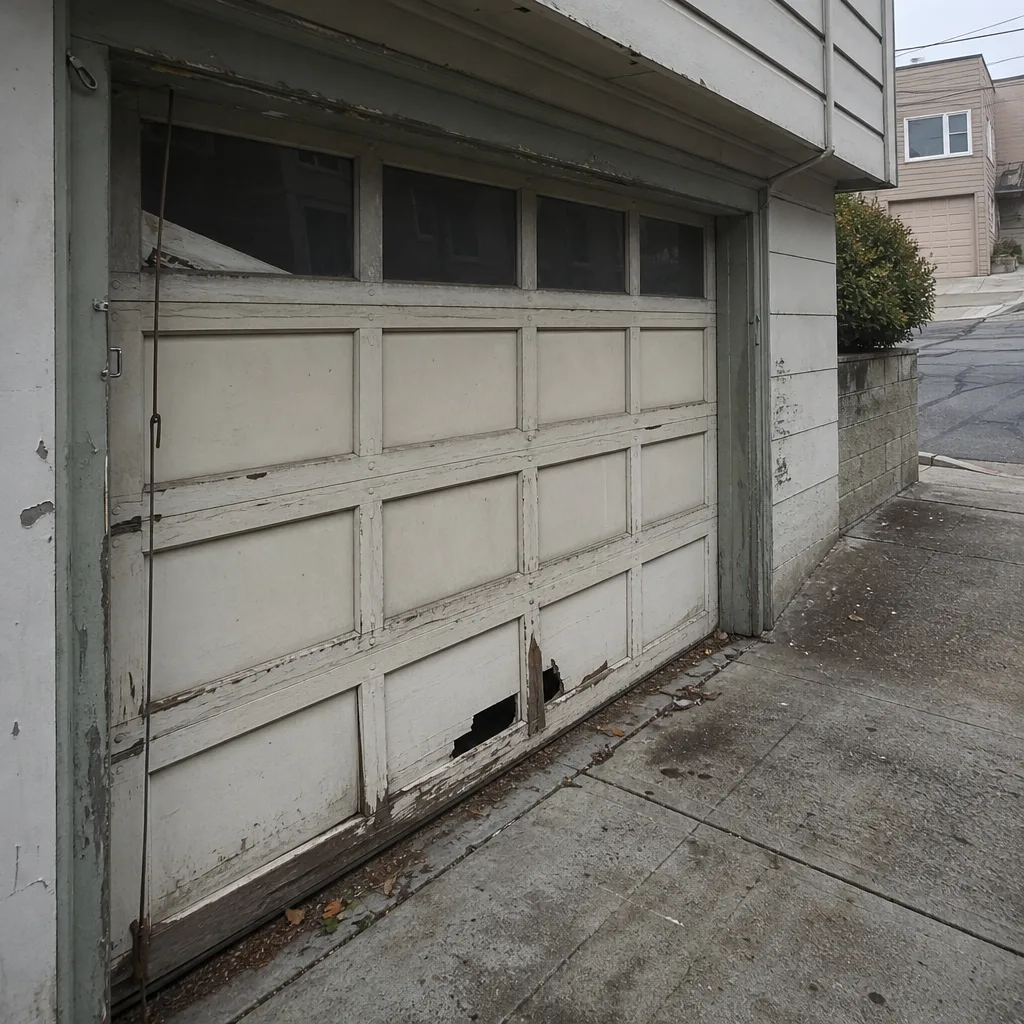 Before
 After
After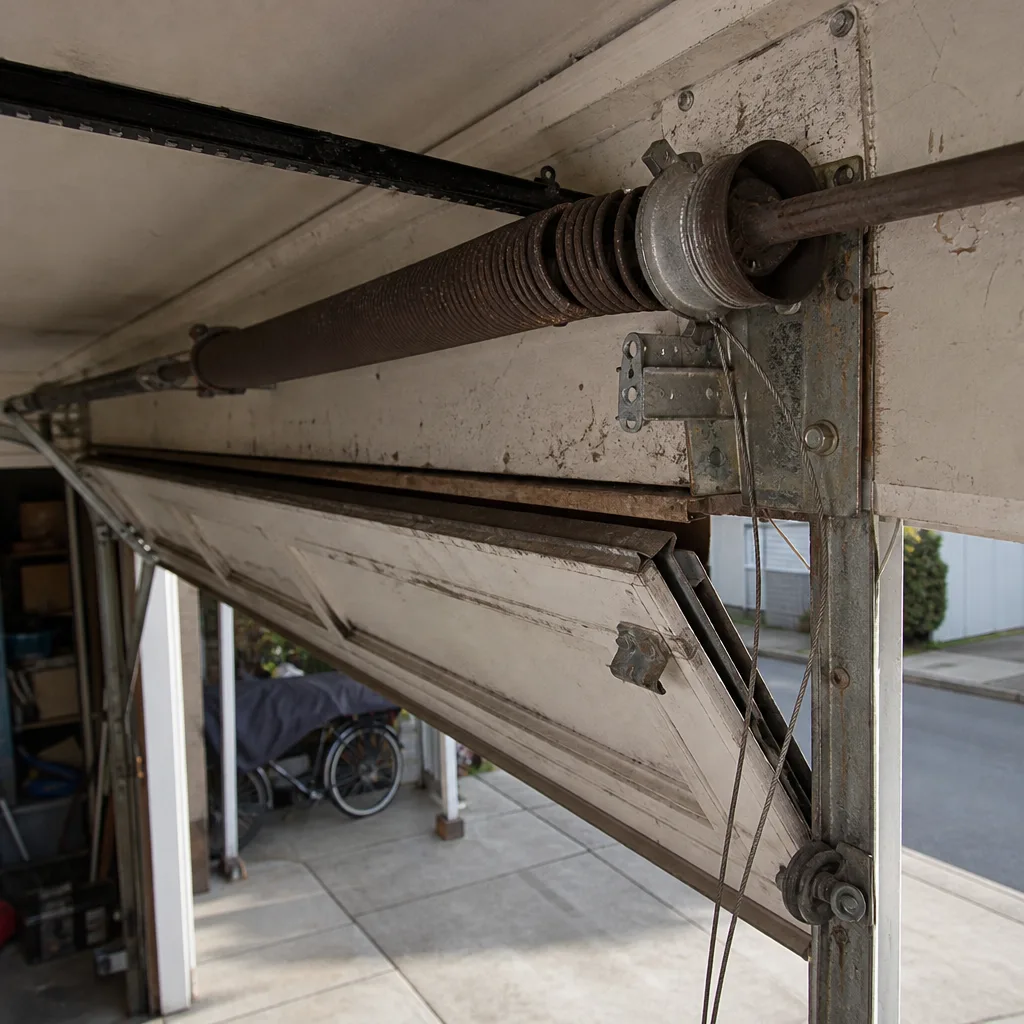 Before
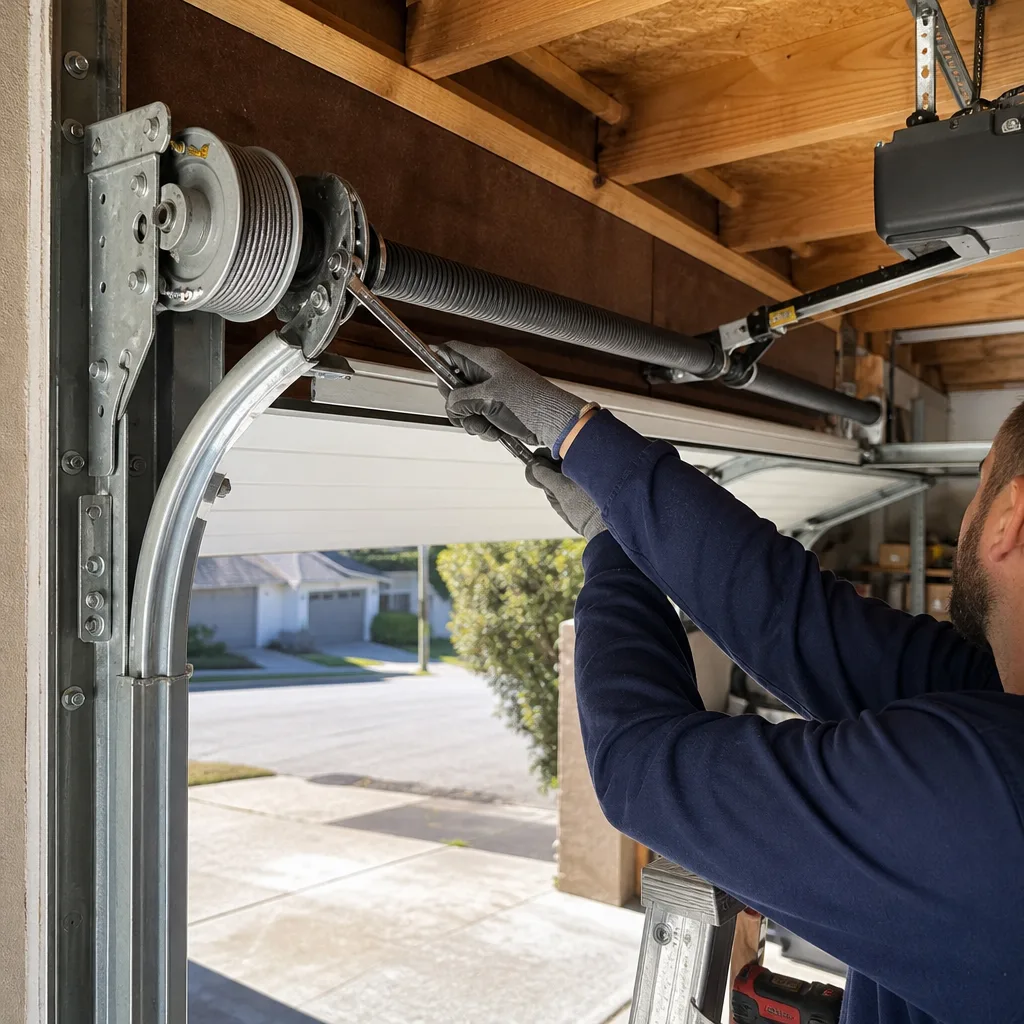 After
After