
Last updated October 16, 2026
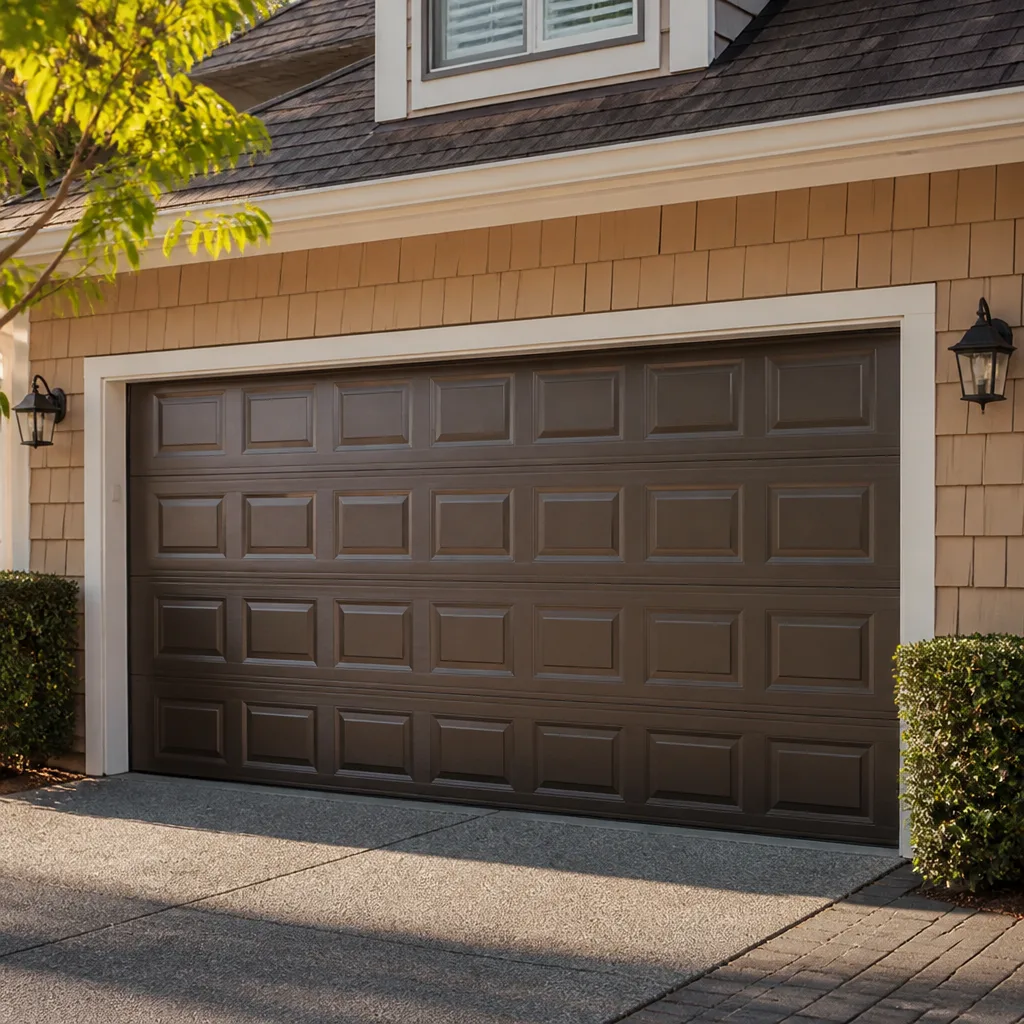 Raised-panel steel
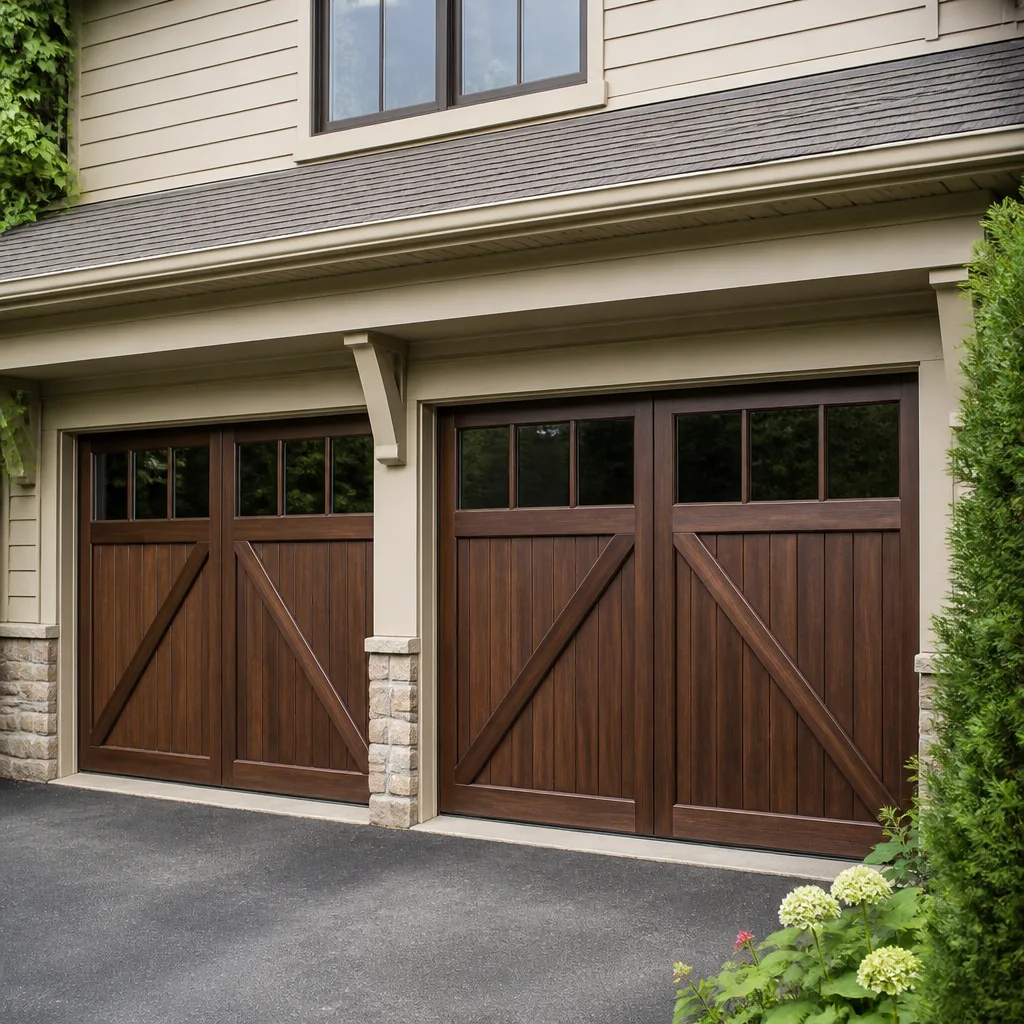 Carriage house
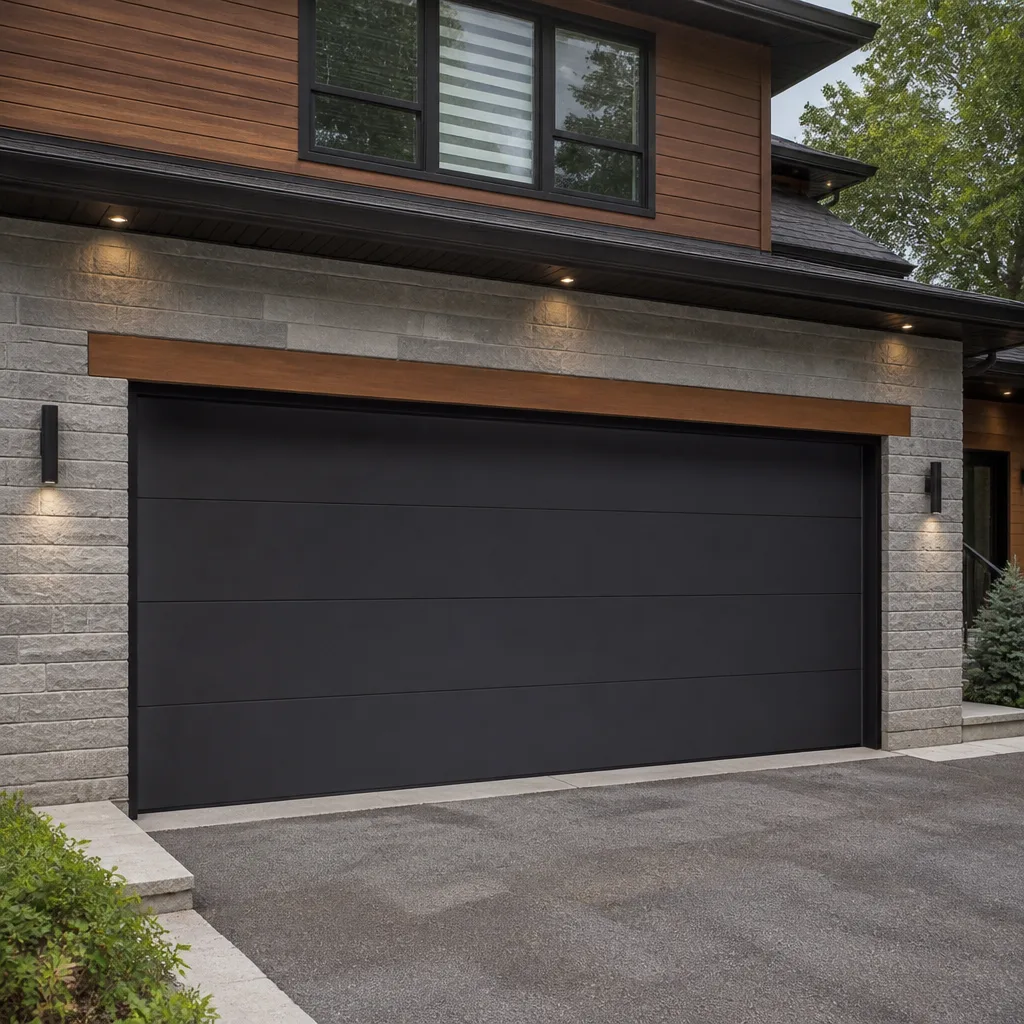 Modern flush
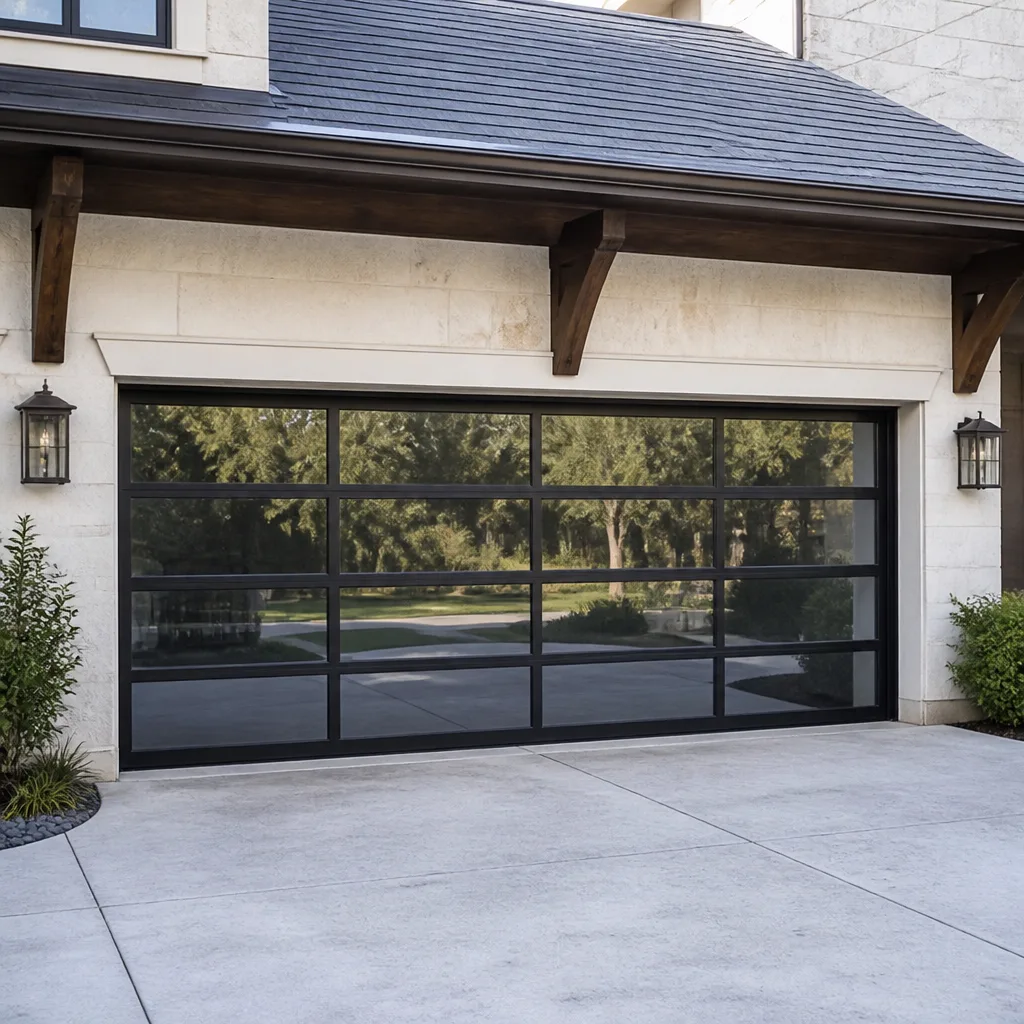 Full-view glass
 LiftMaster openers
 Chamberlain openers
Full 25-point door and opener safety check with every visit - springs, cables, rollers, tracks, and your LiftMaster or Chamberlain opener included
You get a price before we start. It does not change when the truck arrives.
Get your free estimateSeasonal Garage Door Care for San Francisco: Year-Round Homeowner’s Guide
Most garage door maintenance advice is written for places with actual winters. San Francisco doesn’t have that problem. What it has is worse, in a way: four distinct fog-and-wind cycles that corrode metal, stress panels, and soak seals year-round. The city’s real threat period isn’t January. It’s “Fogust” – June through August, when daily condensation on metal components is as corrosive as a Midwest winter. This guide maps a care calendar to those real local patterns, so you’re not following advice from a website written for Chicago. For more guides & resources tailored to the Bay Area, see our blog. You’ll learn exactly what to check, when to check it, and what it typically costs to fix in San Francisco.
Quick Answer
Seasonal garage door care in San Francisco means running four checklists a year, each timed to the city’s actual weather patterns: a pre-fog inspection in late May, a wind-season prep in October, wet-season threshold and seal work between December and February, and a full cable-and-spring inspection in March and April when humidity drops and tension shifts. The single highest-value task is lubricating and inspecting metal components before the June fog arrives – that one step prevents most of the corrosion damage we see across the city.
Table of Contents
- The San Francisco Fog Calendar: Why June-August Is Your Real Maintenance Season
- Fogust Prep: The Late-May Checklist That Prevents Summer Corrosion
- October-November Wind Season: Diablo Winds and Lateral Door Stress
- December-February Wet Season: Threshold Seals and Concrete-Slab Rust
- March-May Dry-Out: Why Spring Is the Best Time for a Full Spring and Cable Inspection
- Neighborhood-Specific Care: Fog Zone vs. Inland Zone
- Common Mistakes to Avoid
- When to Call a Professional
- Frequently Asked Questions
The San Francisco Fog Calendar: Why June-August Is Your Real Maintenance Season
San Francisco’s climate flips the national maintenance script. In most of the country, homeowners winterize their garage doors in October and November. Here, the highest-stress season for a garage door system starts in June, when the marine layer settles over the city and doesn’t leave for three months.
The problem isn’t temperature – it’s condensation. Every summer morning in the Outer Sunset, Richmond, and the western half of the city, fog blankets metal surfaces. A torsion spring – the large coil mounted above the door that does most of the lifting – is bare steel unless it’s been coated. When fog condenses on it daily, and then the afternoon sun warms the garage door panels, you get a daily wet-dry cycle that accelerates rust. We’ve pulled torsion springs out of Outer Richmond garages in August that look like they’ve been sitting in a damp basement for a decade. That’s sixteen months of fog exposure, not ten years.
This is why The Complete Guide to Garage Door in San Francisco recommends ignoring fall-winter-spring schedules written for Sacramento or San Jose. It means tracking the fog line. The marine layer doesn’t sit over the whole city evenly – the west side gets daily condensation, while Noe Valley, the Mission, and Bernal Heights get patchier fog and more afternoon clearing. We’ll break that down by neighborhood later in this guide.
For now, the core fact to remember: if you do one maintenance pass a year, do it in late May, before the fog locks in. That single pass will prevent most of the corrosion damage we see on garage door repair in San Francisco calls from June through September.
Fogust Prep: The Late-May Checklist That Prevents Summer Corrosion
“Fogust” is a term you’ll hear from weather watchers and surfers, but it applies to your garage door too. The sequence we recommend every year in late May takes about 45 minutes and touches the components that fail most often during fog season.
Here’s the step-by-step checklist, in order of importance:
- Spray the torsion springs with a corrosion-inhibiting lubricant. Use a garage-door-specific spray (not WD-40 – it displaces moisture but dries out the spring over time). Coat the full length of each spring. This is the single most cost-effective maintenance step you can take in San Francisco. A replacement torsion spring typically costs $180 – $340 installed in the city, and lubrication buys you years.
- Check the lift cables for fraying. The cables run along both sides of the door and carry the door’s full weight when it opens. Fog moisture causes the thin steel strands to rust and then snap under tension. Look for brown discoloration, broken strands, or kinks near the bottom bracket. If you see any of those, call for service before the cable breaks – a snapped cable under load can whip and cause injury.
- Inspect the bottom bracket and seal retainer for rust. These are the L-shaped metal plates and the aluminum track that hold the rubber weather seal at the bottom of the door. They sit inches off the ground where fog condensation drips and pools. Surface rust here is normal after a few years; deep pitting or holes are not.
- Lubricate all rollers and hinges. Use a spray lubricant on the roller bearings and the pivot points of every hinge. Do not grease the roller track itself – that just collects dirt and makes the door noisier.
- Run a manual balance test. Pull the emergency release cord (with the door closed) and lift the door by hand. It should rise smoothly and stay open about three to four feet off the ground without support. If it slams or drifts, your springs are losing tension – a sign they’re near the end of their life.
We recommend this exact sequence to homeowners across San Francisco because it addresses the city’s dominant failure mode: corrosion, not wear. In inland cities, springs fail from cycle fatigue. Here, they fail from rust first.
October-November Wind Season: Diablo Winds and Lateral Door Stress
Most San Francisco homeowners don’t think about wind and garage doors until a door panel starts rattling during a storm. But October and November – when Diablo wind events push dry air from the inland valleys toward the coast and El Niño conditions can drive sustained gusts through the city’s west-facing streets – put a specific load on garage doors that no other season does: lateral force.
A garage door is built to lift vertically along its track. It is not built to flex sideways. When gusts hit a closed door head-on, the panel sections twist against each other. The panel-to-panel hinges absorb most of that stress. Over time – and especially on older doors with steel hinges that have lost their pivot bushings – the hinge pins wear oval, the panels start to sag at the joints, and the door binds when opening.
Here’s what to check before the first serious wind events of fall:
- Panel-to-panel hinge tightness. With the door closed, push gently on the center of each panel from outside. If you see movement at the joint before the whole panel moves, the hinge is loose. Tighten the bolts on the inside. If the hinge itself is cracked or gaps, replace it. A single door hinge costs $10 – $25 and takes minutes for a technician to swap.
- Roller track alignment. Wind flex can pry the vertical tracks away from the wall framing. Stand at the back of the garage and look along each track line. If it bows inward or outward, the mounting brackets have shifted. The door will still work – until the rollers derail under a wind gust while opening.
- Strut condition on wider doors. Any two-car door should have at least one horizontal strut (the U-shaped metal brace bolted across the top panel). For a 16-foot-wide door, that strut is the primary defense against wind bowing. If it’s bent, rusted at the ends, or missing bolts, the top panel will flex noticeably in gusty weather.
- Weatherstrip compression where wind gets through. Hold a flashlight inside the garage at night with the door closed and look for light gaps along the side frames and top header. Any gap that shows light is a gap that channels wind – and noise, and in some neighborhoods, fine dust – under the door edges.
If you have a two-car door in an exposed location – think a corner lot facing a west-running street in the Inner Sunset or a hillside home on Twin Peaks – wind stress is a yearly reality, not an exception. A garage door installation in San Francisco for an exposed site often includes extra struts for exactly this reason.
December-February Wet Season: Threshold Seals and Concrete-Slab Rust
When San Francisco gets its wet season rain – usually ten to sixteen inches from December through February, concentrated in bursts – water works its way under the garage door threshold in every home where the floor slab meets the door. That’s a foundational design reality: concrete garage slabs are poured slightly below the exterior grade, which means every driveway slopes water toward the door seal.
The bottom seal (also called the astragal) is a rubber extrusion fitted into an aluminum retainer channel along the bottom panel of the door. Its job is simple: flex against uneven concrete and block water. But here’s what most guides miss – the retainer may be the most vulnerable component on the whole door during the wet season, not the seal.
Here’s how the failure sequence works: rain pools at the threshold. The concrete stays damp for days. The aluminum retainer sits in that moisture. Aluminum doesn’t rust like steel, but it does corrode – especially at the screw holes where it’s fastened to the steel bottom panel, creating a galvanic reaction. Six years of wet seasons later, the retainer is pitted, the screws are frozen, and the seal is loose.
What to check in December:
- Seal-to-concrete contact. Close the door and lay a straightedge or level along the bottom from inside. Visible gaps mean the seal has compressed or cracked and is no longer making full contact.
- Retainer screw rust. Run your fingers along the inside bottom of the door panel. If the retainer screws are rusty enough to crumble, the retainer will need to be replaced, not just the seal. A full retainer-and-seal replacement on a single door in San Francisco typically runs $120 – $220.
- Threshold pooling depth. During the first heavy rain of winter, go outside and look at how deep water pools against the door. More than a half inch of standing water means the exterior drainage needs attention – a French drain, regrading, or a threshold plate – because the seal alone was never designed to hold back that much water pressure.
Reseal versus replace, simplified: if the rubber is stiff, cracked, or flattened but the aluminum retainer is sound, replacing just the seal is $80 – $150. For fuller pricing context, see our Garage Door Cost Breakdown: The San Francisco Homeowner’s Reference for 2026. If the retainer is corroded or the panel bottom has rot (on wood doors) or rust (on steel), the fix is bigger and needs a technician’s assessment.
March-May Dry-Out: Why Spring Is the Best Time for a Full Spring and Cable Inspection
Here’s the counterintuitive part of the San Francisco garage door calendar: after three months of winter rain, the city dries out. And when humidity drops, the tension characteristics of your torsion spring and lift cables change. That’s the exact moment – March through May – when we get the most calls for sudden spring failures and snapped cables in San Francisco.
Why? A torsion spring stores mechanical energy in its steel coils. In the wet season, surface moisture and microscopic corrosion on the spring reduce its effective tension slightly, but the cable and drum system compensates. When the air dries out, the corrosion crumbles away, rust flakes release, and the spring’s effective diameter changes by fractions of a millimeter across its length. On a spring already near fatigue failure, this is enough to trigger a break.
Cables are similar. Steel cables absorb moisture in the wet season, swell microscopically, and settle into their drum grooves. When March and April dry them out, they contract slightly – which changes the load distribution between the two cables by a tiny amount. On an older system with uneven wear, that asymmetry is where single-cable failures start.
Use the dry-out period for one full inspection pass:
- Run the balance test. Disconnect the opener with the emergency release and lift the door manually. It should stay put at the midway point. Drifting down means spring fatigue – schedule a replacement before the spring snaps. Typical torsion spring replacement in San Francisco runs $180 – $340 depending on door weight and spring size.
- Check both cables for even tension. Look at the cable spool on each side while the door is at the halfway point. The cable should be evenly wound with no crossover. If one side has slack, stop using the door and call a technician – this is a high-tension component and adjusting it without the right tools and training is dangerous. We see one or two DIY cable injuries every year in the city, and every single one was avoidable.
- Inspect the spring coils for rust flaking. Light surface rust is tolerable. Flaking, pitting, or visible wear where coils rub together is not.
- Test the auto-reverse safety system. Place a 2×4 or a roll of paper towels flat on the ground under the door path and close the door. It should reverse within two seconds of contact. This is a federal safety requirement since 1993 and it’s the most important garage door opener repair in San Francisco check that most homeowners never do.
March through May is also the best time of year to schedule any replacement work you know is coming. The weather is mild, parts are in normal supply (no holiday rush), and you’ll catch issues before fog season starts its corrosion cycle.
Neighborhood-Specific Care: Fog Zone vs. Inland Zone
San Francisco’s microclimates are real enough that your garage door maintenance schedule should shift based on where you live. The dividing line runs roughly along Twin Peaks and Sutro Tower: the west side gets daily fog, salt air, and heavy condensation from June through August; the east side gets patchier fog and more drying cycles.
Fog zone (Ocean Beach, Outer Sunset, Outer Richmond, Ingleside, Lakeshore, Park Merced):
- Salt air accelerates corrosion. The closer you are to Ocean Beach and the Great Highway, the more airborne salt reaches your garage. Salt combined with daily fog condensation creates an electrolyte that speeds rust on exposed steel – springs, cables, hinge pins, and pulleys. Properties within six blocks of the beach should lubricate every three months instead of every six.
- Aluminum retainers corrode faster. Fog-zone retainers often need replacement within four to five years, versus six to eight years inland. If you’re seaside, check the bottom retainer before every wet season and budget for earlier replacement.
- Wood door panels need more attention. If you have a wood garage door in a fog-zone house – common in Outer Sunset rows built in the 1930s through 1950s – the daily moisture cycle swells and shrinks the panels. Repaint or reseal the exterior every 18 – 24 months and watch for soft spots along the bottom panel edge.
Inland zone (Castro, Noe Valley, Mission, Bernal Heights, Potrero Hill, Bayview):
- More thermal expansion stress. Inland neighborhoods get bigger daily temperature swings during fog season: foggy mornings followed by clear hot afternoons. The metal components expand and contract more over a 24-hour period, which wears hinge bushings and roller bearings faster than steady fog-zone temperatures do.
- Wind stress concentrates on hillside exposure. Homes on Noe Valley and Bernal Hills slopes face more lateral wind load than flat Fog Belt streets, even if they get less fog. Diablo wind events hit these neighborhoods harder. If your garage faces an east-west street that funnels wind, check the panel hinges and top strut every October.
- Dust and grit matter more than salt. Inland zones see less salt corrosion but more windborne grit off the hills. Grit works its way into roller bearings and track channels, which means lubrication actually matters more here than in the fog zone – a lubricant film is the barrier between the bearing and the grit.
The split isn’t perfect – Glen Park and the Haight sit in between – but the principle holds: if you can see the ocean or smell salt in the air from your garage, you’re on an accelerated corrosion schedule. If you’re inland and hillside, you’re on an accelerated wear schedule.
Common Mistakes to Avoid
- Using WD-40 as a garage door lubricant. WD-40 is a solvent and water displacer, not a long-term lubricant. It strips existing grease and leaves metal surfaces dry. Use a garage-door-specific spray or a white lithium grease.
- Ignoring the fog season because “it’s just fog.” Daily condensation on bare steel does measurable damage. The only reason a spring replacement is cheap compared to, say, a car repair is that the part is simpler – not that the failure is less likely. In San Francisco, fog is your seasonal enemy, not winter.
- Attempting to DIY torsion spring or cable repair. These components are under hundreds of pounds of tension. A snapped cable or spring releases that force instantly. We get calls every spring from homeowners who started a cable or spring fix and then stopped because the situation got dangerous. This is one job where the only safe DIY step is closing the door and calling.
- Greasing the roller track. The track is not a bearing surface. Grease on the track just collects dust, oily grime, and salt air, which then grinds into the rollers. Lubricate the roller bearings and hinge pins; leave the track dry.
- Skipping the auto-reverse test. The auto-reverse safety system has been required on every residential opener installed since 1993, but it fails silently. Testing takes 30 seconds and should be done every quarter, not just during your seasonal inspection.
- Replacing the bottom seal when the retainer is the problem. If the aluminum retainer channel has corroded screw holes or is bent, a new seal won’t sit properly and will leak. The fix is a retainer replacement, not another seal. We see this particular mistake most often on Westside doors that have lived through more than eight fog seasons.
- Deferring a spring replacement until the spring snaps. A broken spring rarely damages the door, but it does leave the door unmovable – and in the wrong week, that’s your car trapped in the garage. A spring showing rust flaking, coil gaps, or failing the balance test should be replaced on your schedule, not on the spring’s schedule. In San Francisco, replacement typically runs $180 – $340, and most jobs are completed the same day.
When to Call a Professional
If any inspection turns up a frayed cable, a cracked spring, a bent track, or a door that fails the balance test, these are not weekend DIY fixes. See DIY vs Professional Garage Door: The San Francisco Homeowner’s Decision Guide to know where to draw the line. Torsion springs and lift cables hold the door’s full weight – and that force doesn’t care how confident you are. A trusted technician can assess and replace these parts safely in one visit.
We recommend calling when you see: visible fraying on either lift cable, a gap or misaligned coil in a torsion spring, a door that slams or drifts during the manual balance check, any rust that has eaten through a bracket or retainer, or if your exterior door panels flex noticeably during a wind event. Doyle Garage Doors San Francisco offers free estimates throughout San Francisco – call (650) 550-9734 and a real person answers, day or night.
Frequently Asked Questions
Spring replacement in San Francisco typically costs $180 – $340 depending on the spring size, door weight, and whether one or both springs are replaced. Most spring jobs are completed the same day. Call (650) 550-9734 for an exact quote – estimates are free and in writing.
Yes. In San Francisco, the daily condensation cycle from June through August does more corrosion damage to springs, cables, and brackets than the winter rainy season does. Winter causes threshold and seal problems; summer fog causes corrosion failures. Both need attention, but the fog season is the one most homeowners overlook.
You can lubricate rollers, hinges, and springs yourself, provided you use the right product and avoid the dangerous components. Use a garage-door-specific lubricant and never touch the high-tension cables or spring adjuster bolts. If a component looks damaged, stop and call a professional.
Summer noise in San Francisco is usually corrosion-related. When fog condensation rusts the roller bearings and hinge pins, the metal surfaces grind instead of rolling smoothly. A lubrication pass in late May before the fog locks in prevents most of this. If the noise persists after lubrication, the rollers may need replacement.
A steel garage door in San Francisco typically lasts 15 – 20 years with regular maintenance. Doors in the fog zone – Ocean Beach, Outer Sunset, Outer Richmond – tend to last closer to 12 – 15 years because salt-air corrosion shortens the life of the steel panels and hardware. Wood doors in fog-exposed areas need repainting every 18 – 24 months to reach the same lifespan.
No. At Doyle Garage Doors San Francisco, the price is written down and handed to you before a single bolt is turned. If the technician finds additional issues, you’ll get a separate written quote for that work before anything else is done. No verbal estimates, no invoice surprises. Call (650) 550-9734 for a free estimate.
The Bottom Line
San Francisco garage door maintenance is a four-season job, but the seasons follow the city’s fog, wind, and rain cycles, not a traditional calendar. A late-May fog prep, an October wind inspection, a wet-season threshold check, and a spring dry-out inspection cover the four real modes of failure here: corrosion, lateral stress, water infiltration, and post-rain tension shift. The total annual time cost is under two hours. The total cost of ignoring those two hours is a snapped spring, a frayed cable, or a rusted-out bottom retainer – any of which costs more than the inspection would have saved.
If you’re in San Francisco and you’d like a professional inspection on your schedule, Doyle Garage Doors San Francisco offers free estimates every day of the year. Call (650) 550-9734 and a live person answers – day, night, weekend, or holiday.
Written by Aaron Teague, Owner at Doyle Garage Doors San Francisco, serving San Francisco since 2001.
Styles & brands we work with
See the difference
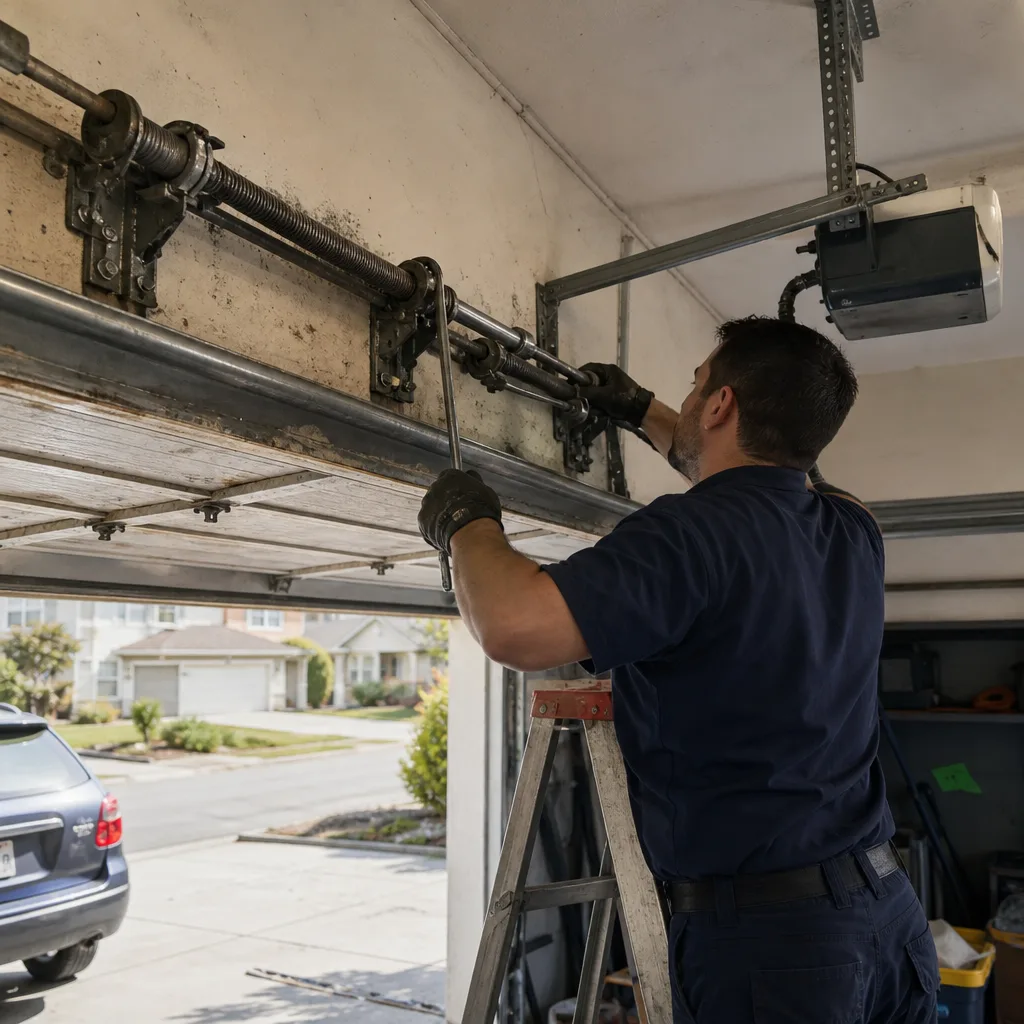 Before
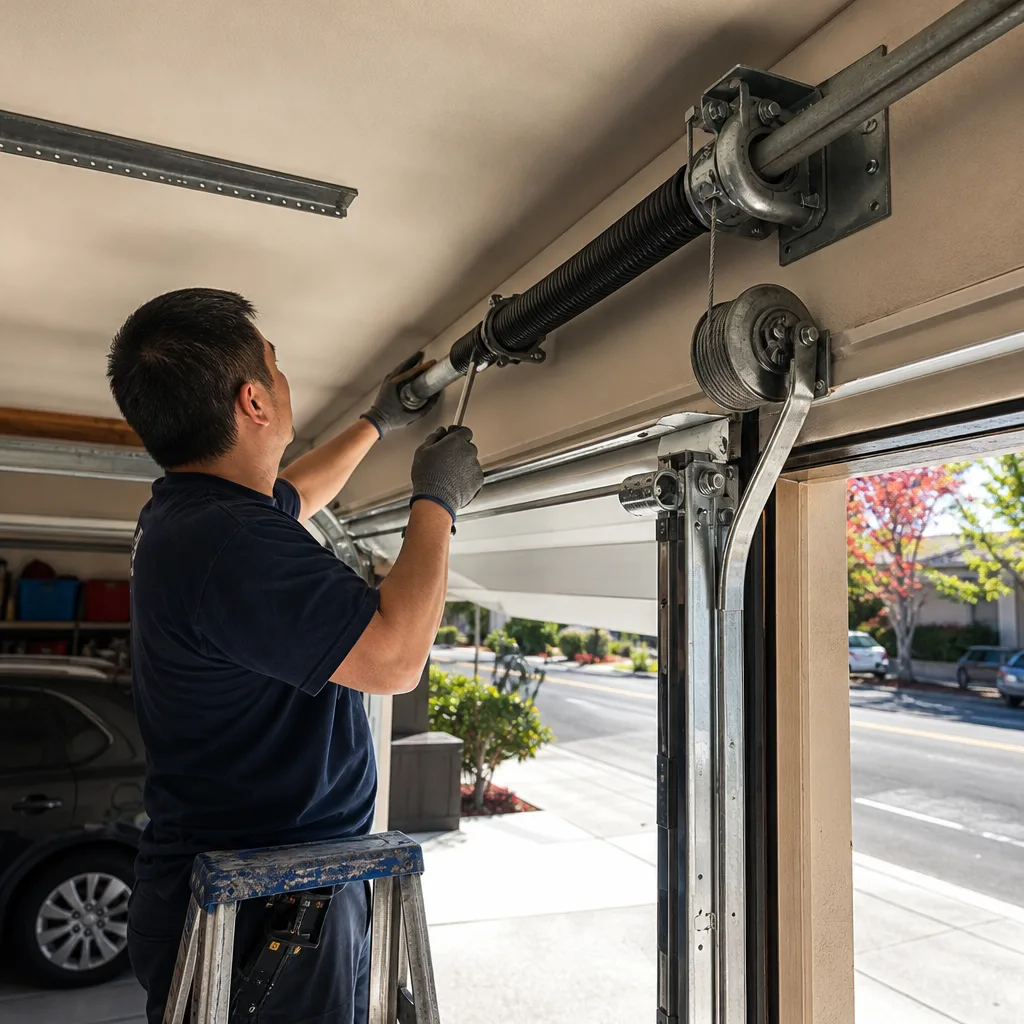 After
After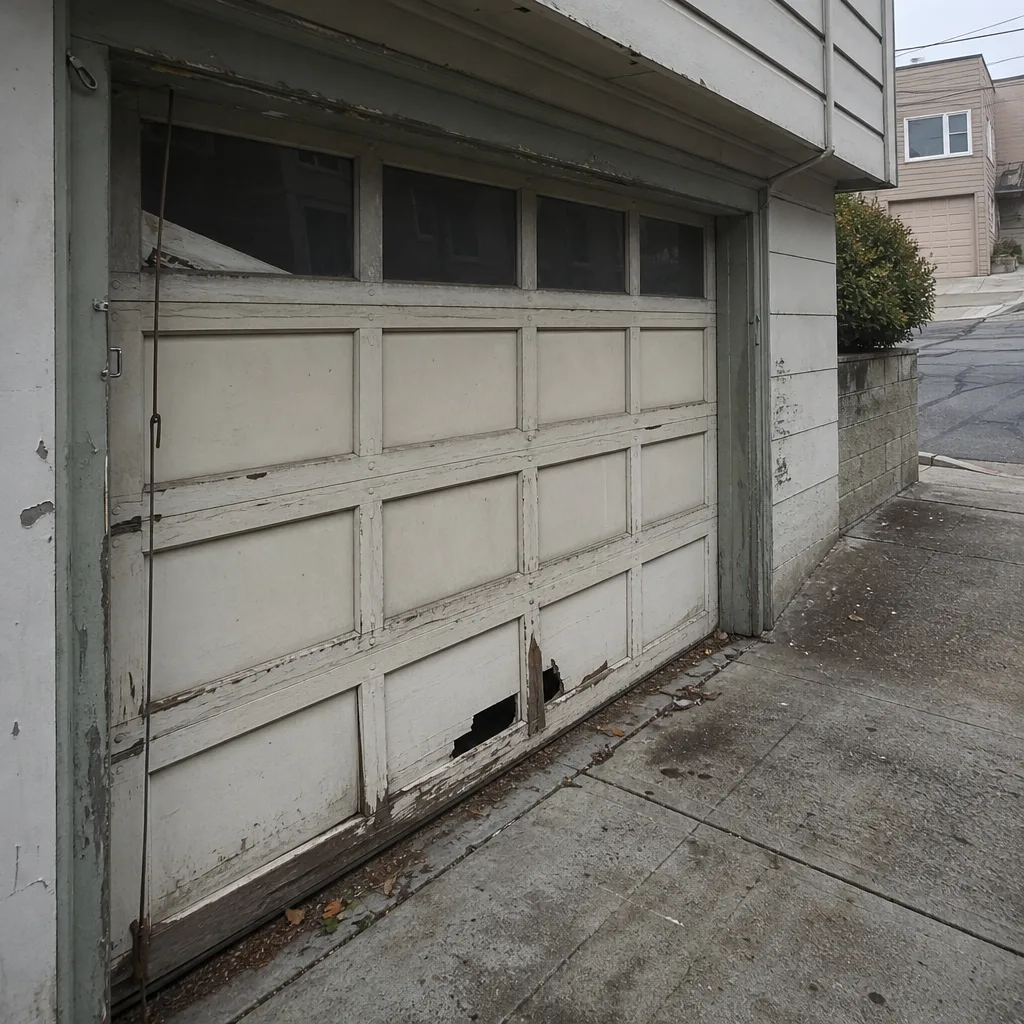 Before
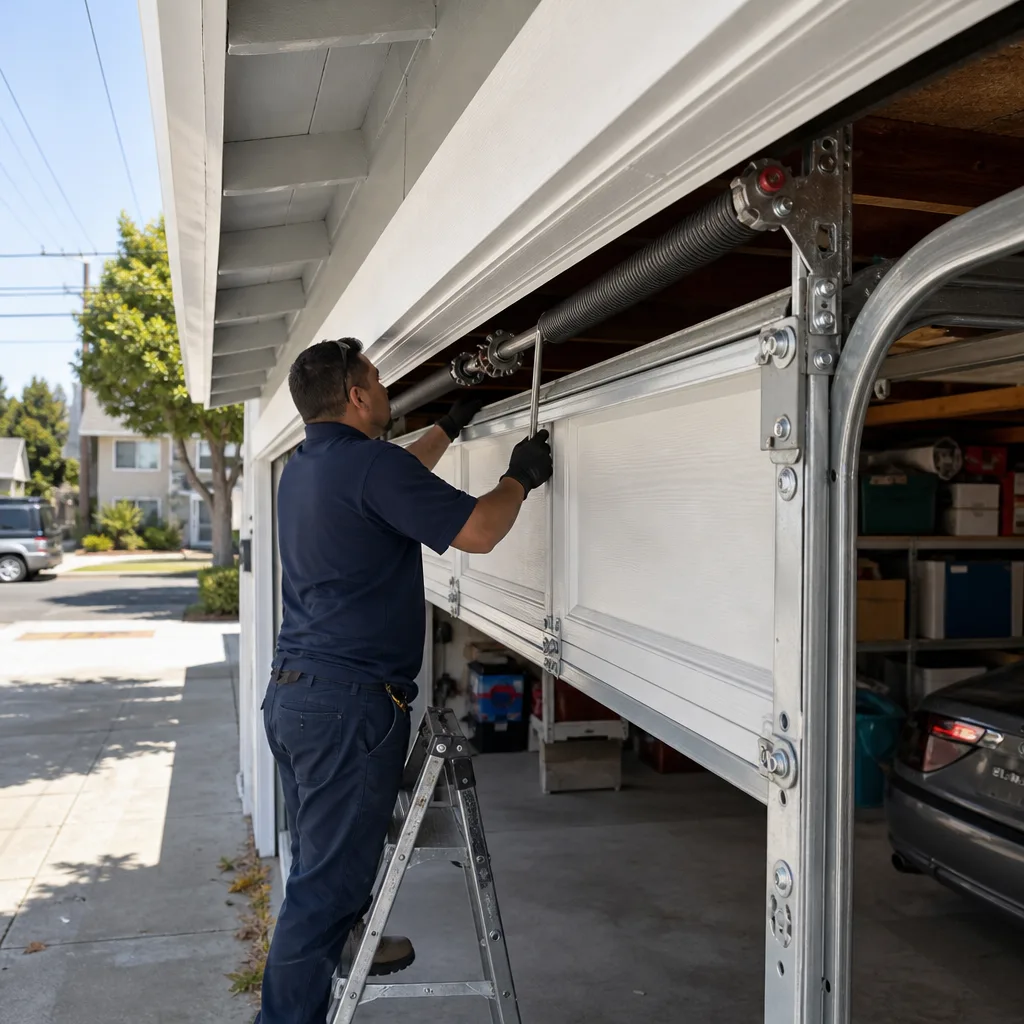 After
After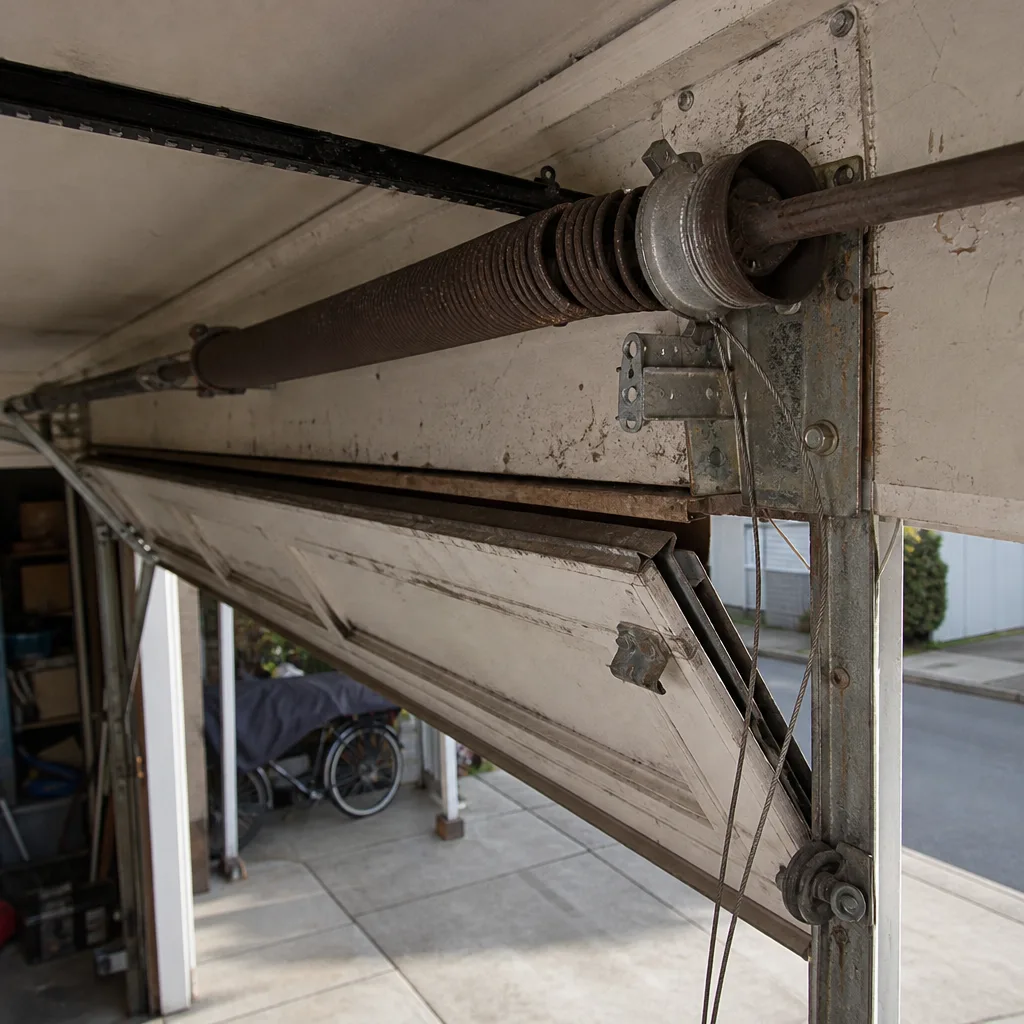 Before
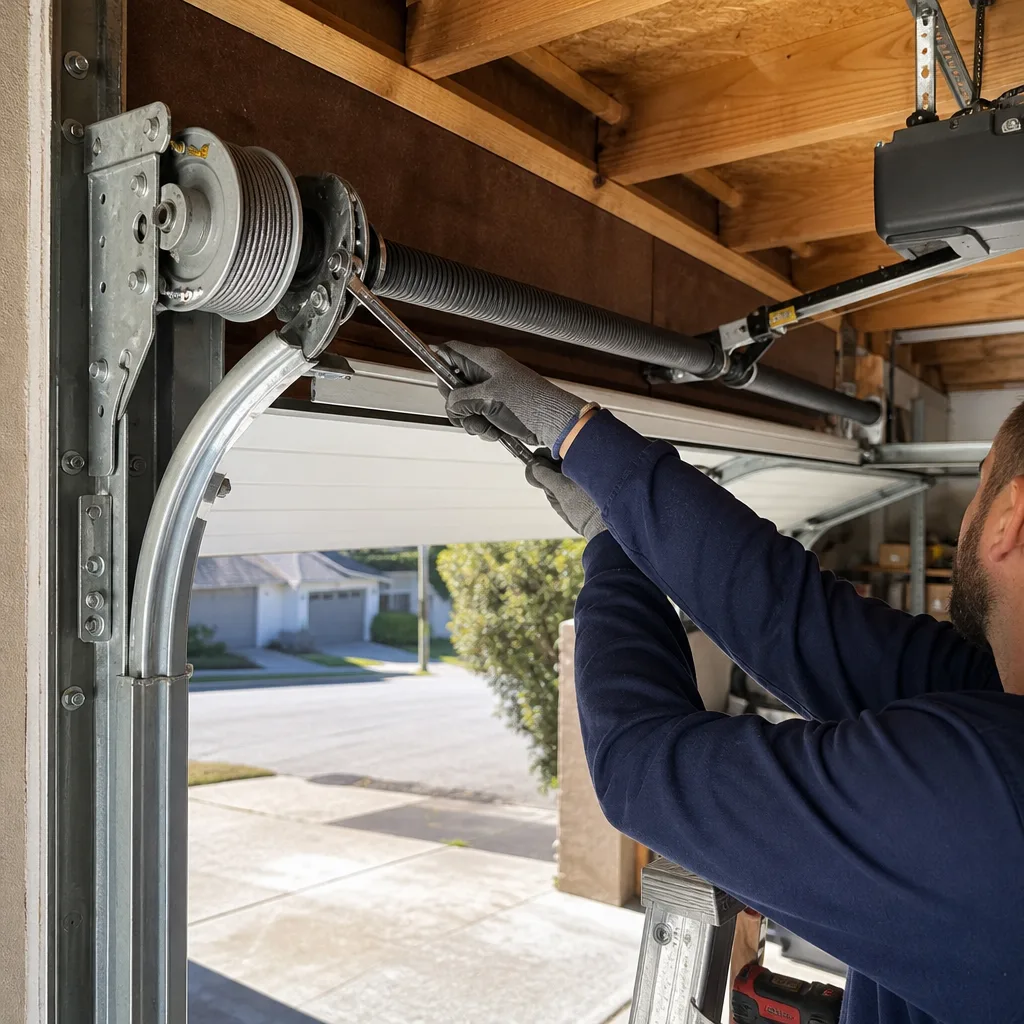 After
After